
Categories
Categories are great way to search and group together similar kind of models.
To make sure used categories are in line, only limited amount of users can add and edit categories in Trail.
This article covers:
Category examples
Categories allow to group together similar type of models. They also describe what kind of model each one is. Keep category names general and clear, so they will be easy to use.
💡 Please note that specific model can only belong to one category.
| Category | Subcategory (if needed) | Manufacturer | Model |
|---|---|---|---|
| Computers |
|
Apple | MacBook 13" |
| Vehicles | Cars | Volvo | V60 |
| Furniture | Chairs | Nikari | Akademia |
| Furniture | Tables | Nikari | Basic, oval |
Creating a new category
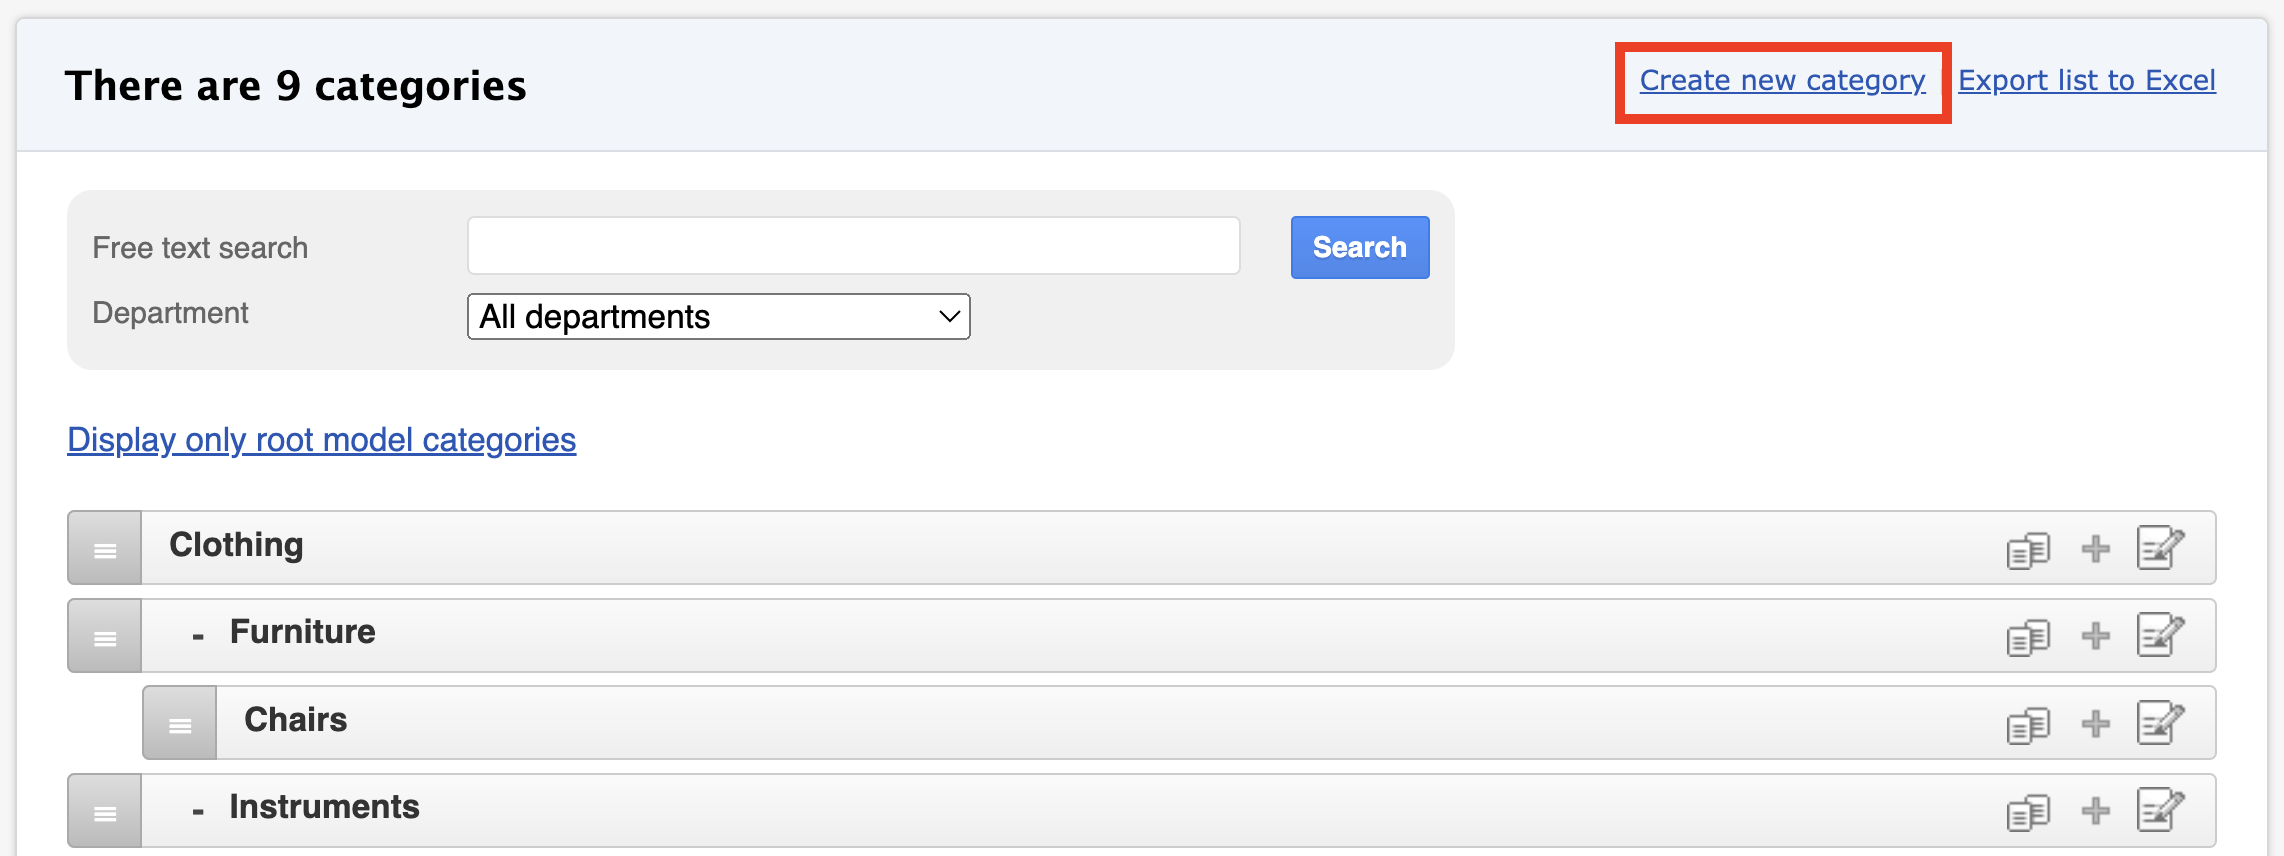
- Open Admin - Model categories
- Click Create new category.
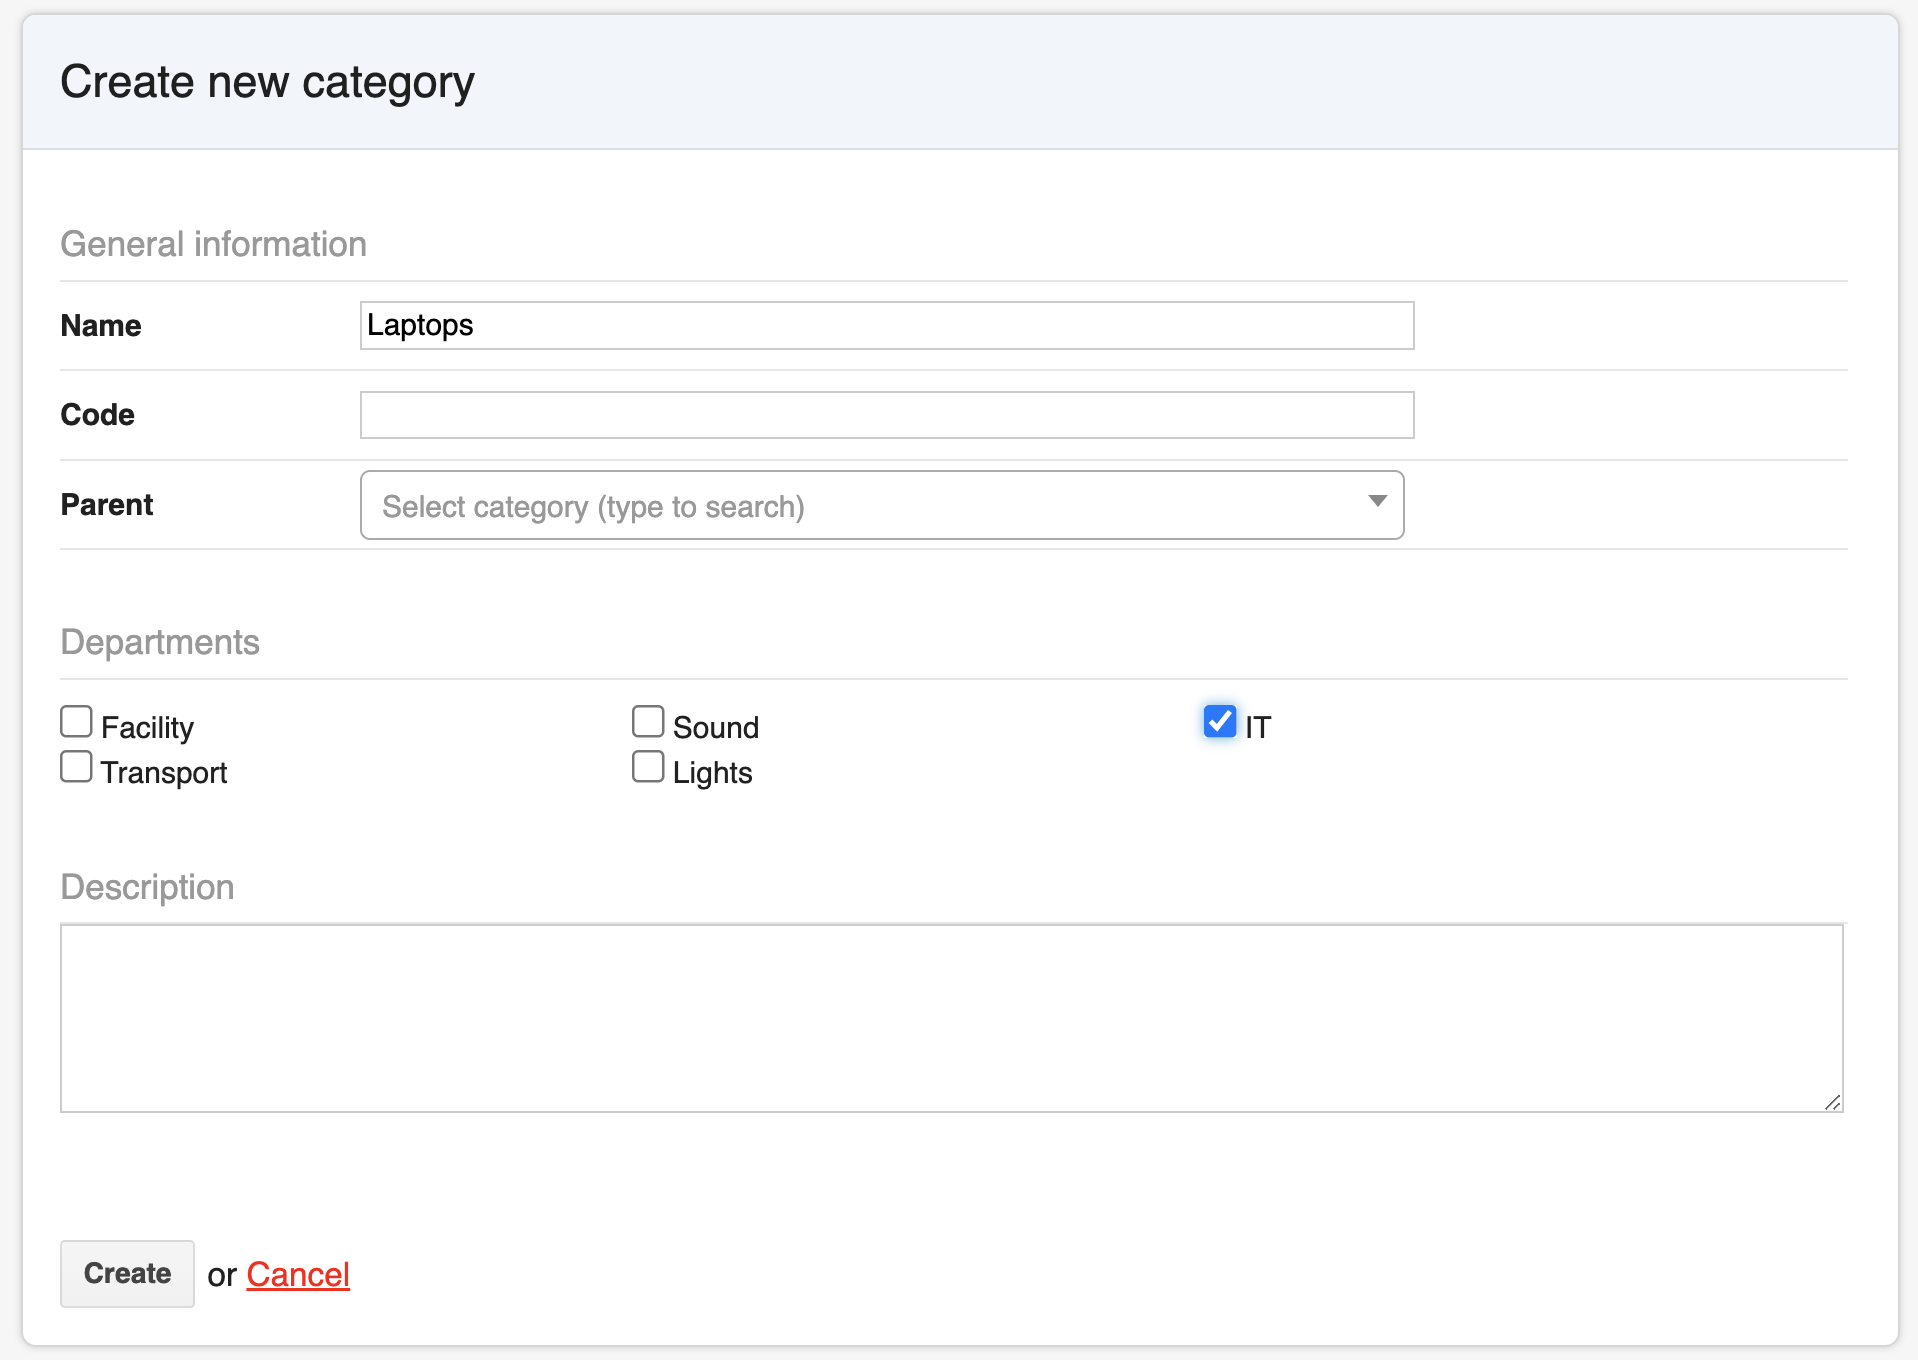
- Fill in the required information:
- Name: The name of the category (mandatory).
- Code: If the category has its own code.
- Parent level: If the category belongs under a main category, select the main category from the dropdown menu.
- Departments: Choose which department(s) the category is linked to. This limits visible categories to those relevant to the user's department, improving usability.
- Finally, click Create.
Creating a new subcategory
A subcategory can be created when there is a higher-level category that needs to be divided into more specific subcategories.
For example: Main category: Vehicles / Subcategory: Passenger cars
- Open Admin - Model categories
- Click Create new category.
- Fill in the required information:
- Name: The name of the category (mandatory) (such as Passenger cars)
- Parent: Select the main category under which this will be placed. (Such as Vehicles)
- Finally, click Create.
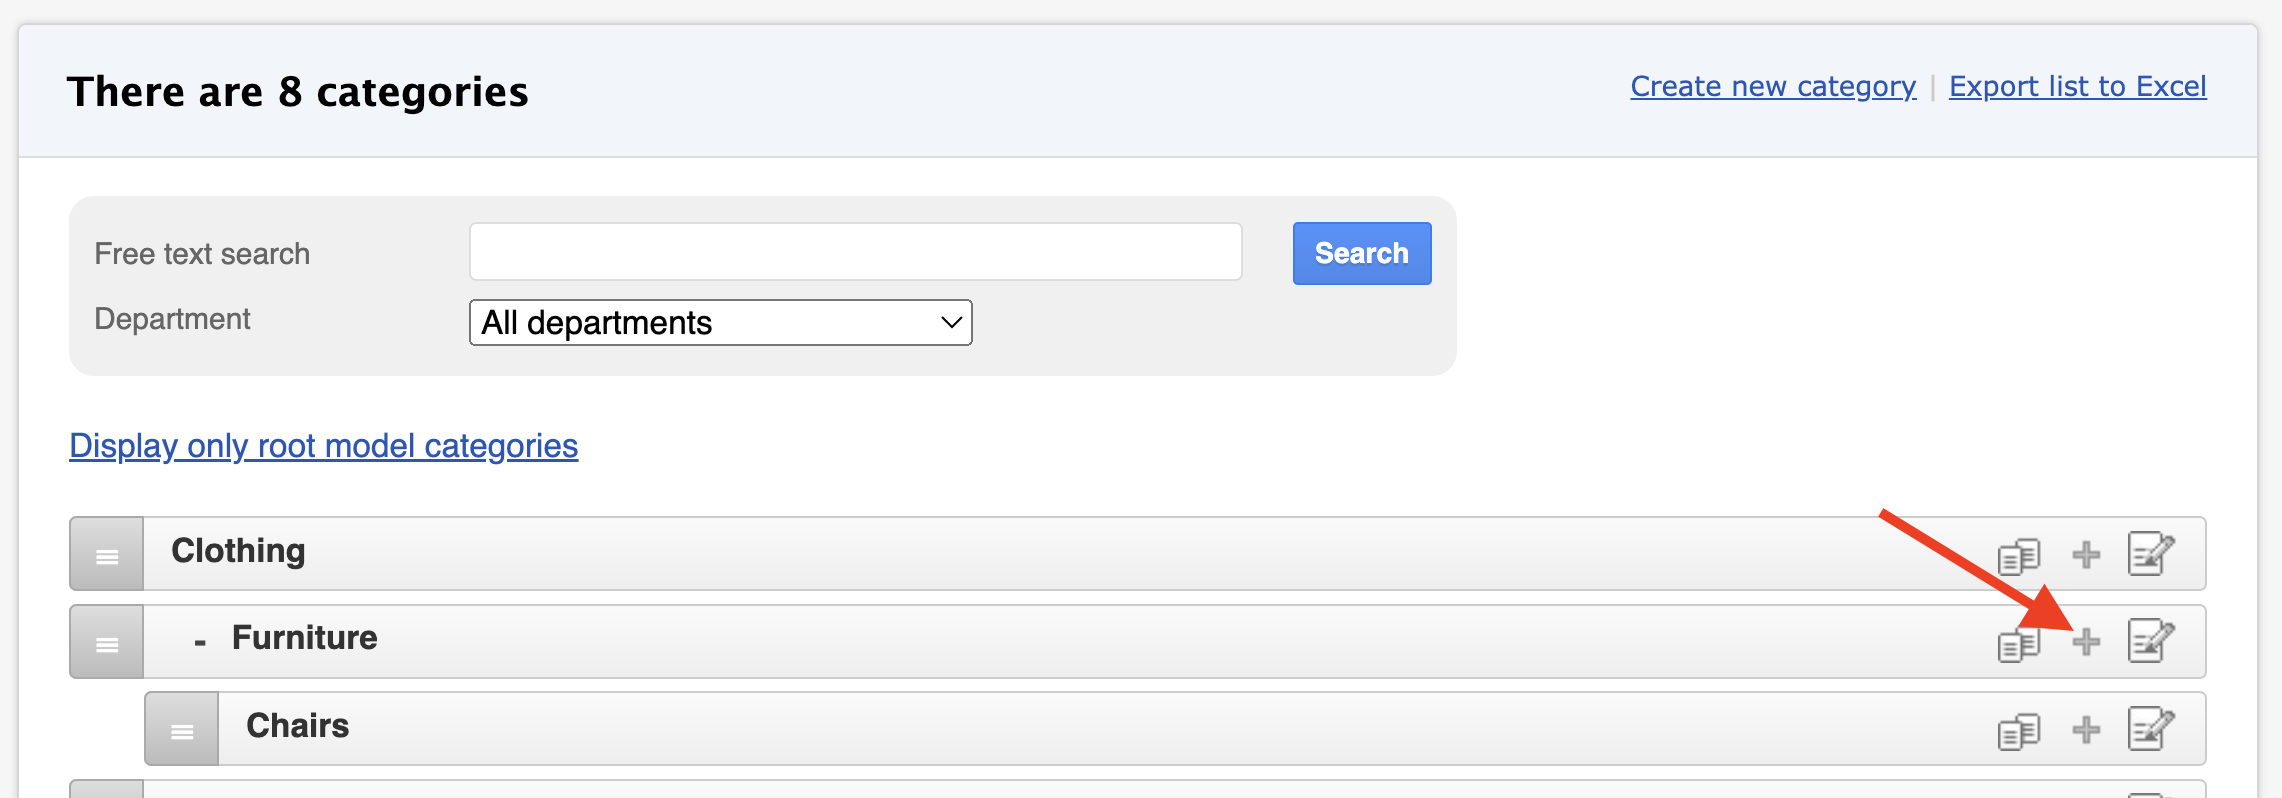
Alternatively, find the main category from the list and click its + symbol — the main category will then be prefilled in the form.
Editing or deleting a category
- Editing - You can edit existing category by clicking its' name or the Edit icon. Always remember to save the change.
- Deleting - A category can only be deleted if it is not linked to any models.
- Click the trash can icon next to the category.
- If the icon is not visible, go through all models and move them to another category (models of deleted items are also included).

Changing a category to a subcategory or main category
Did you accidentally add a subcategory at the main category level? You can change a category’s position in the hierarchy:
-
By dragging: Click the category from its dark grey area and drag it either inside another category or out of it.
The blue area shows where the category is being moved.
- In the edit view: Open the category details and change the Parent level field.

Merging categories
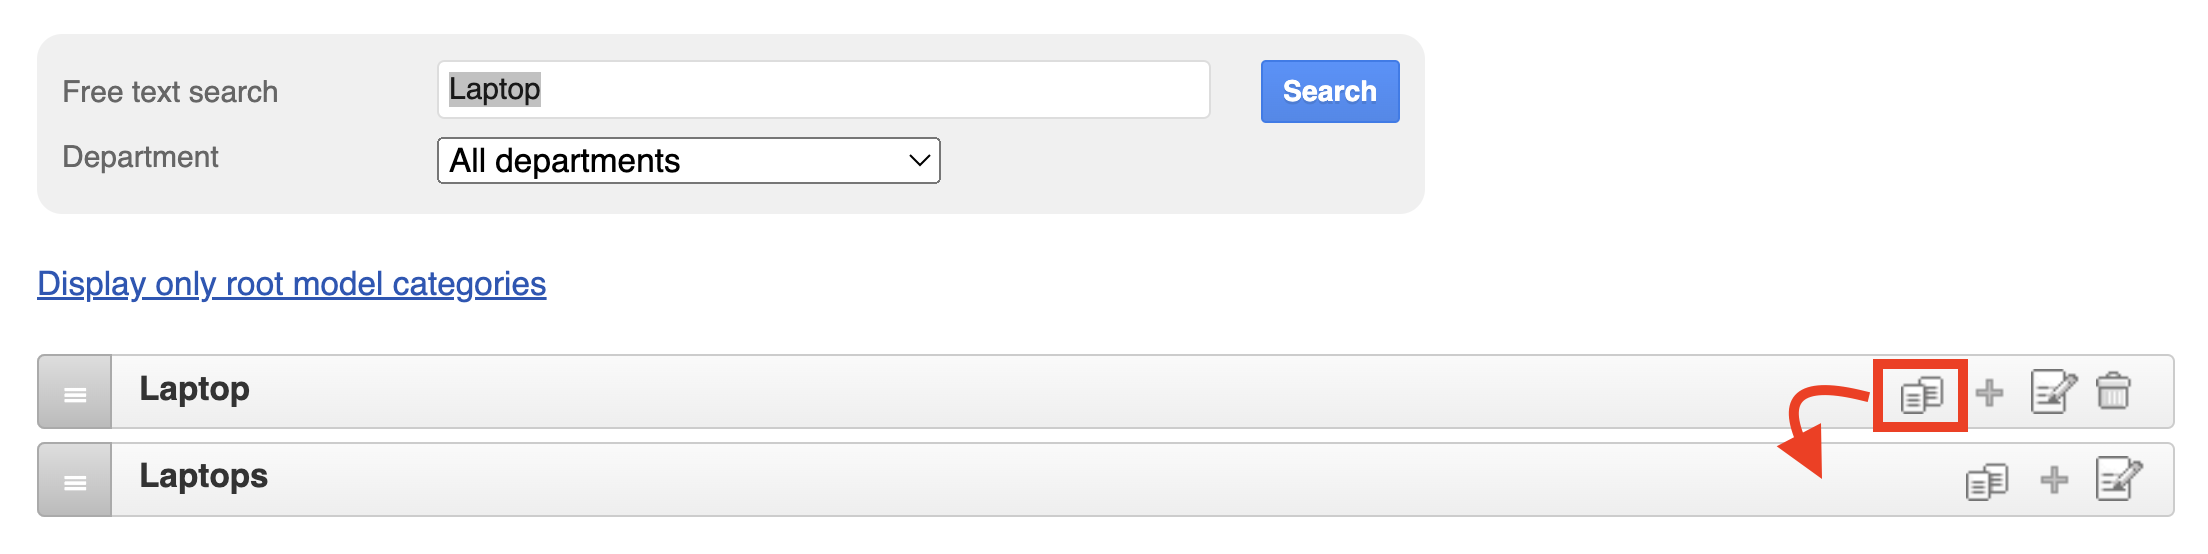
Sometimes duplicate categories may be created (e.g., “Computer” vs. “Computers”). They can easily be merged as follows:
Note: Department and description details do not automatically update during merging. Make sure to update the correct category’s information before merging.
-
Click the double paper icon next to the duplicate category.
Drag it onto the correct category.
Trail will ask for confirmation:
- Click OK to merge.
- Click Cancel if you don’t want to continue.
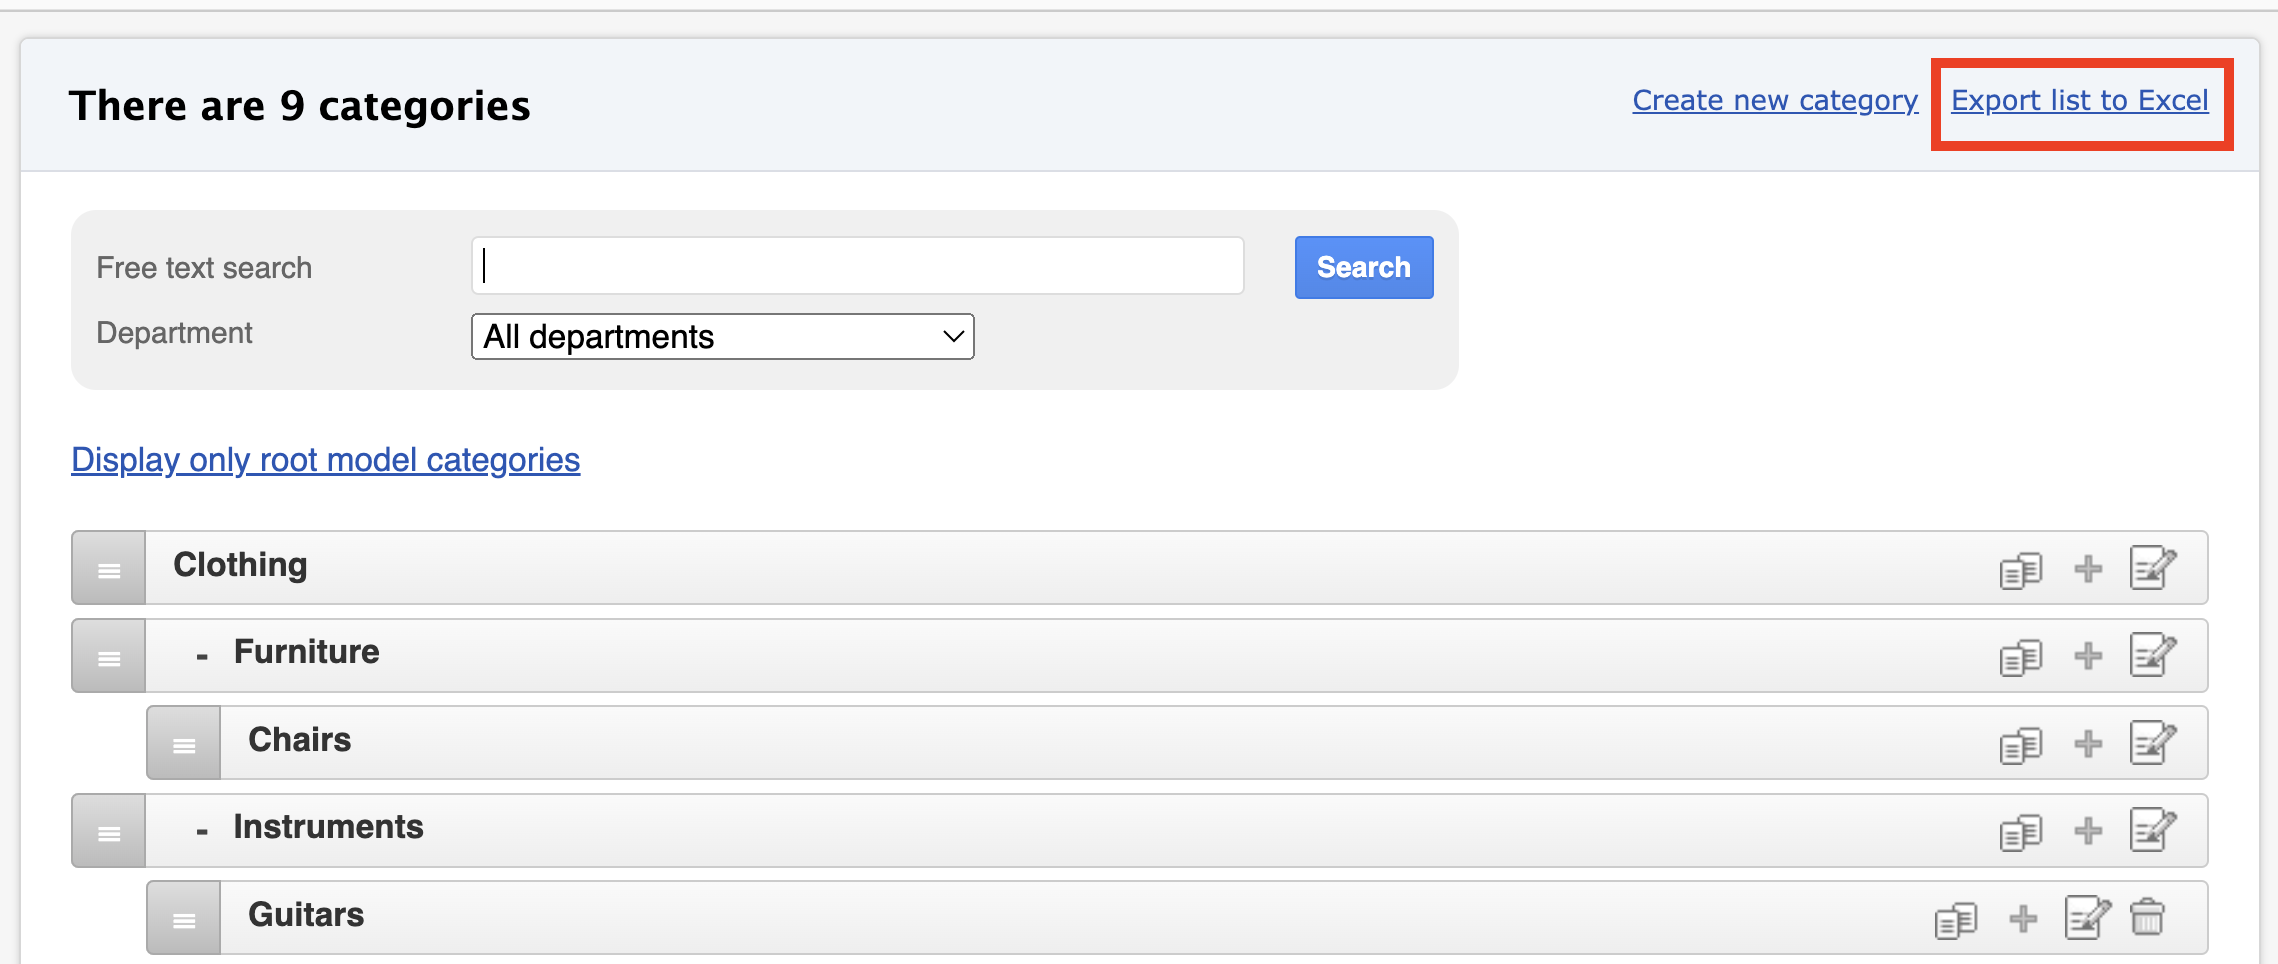
Downloading the category list
Click Download list as Excel from the top-right corner of the page.
You’ll get an Excel file containing all your category information.
⭐ Tips for managing categories:
- Keep names consistent: Use the same language and format (e.g., all in plural form: Computers, not Computer).
- Use subcategories where needed: This clarifies the structure and prevents main categories from becoming too large.
- Limit visibility by departments: This ensures users see only the categories relevant to them.