
RFID inventory
With RFID inventorying, you can complete an inventory without scanning each item individually.
To be able to perform an inventory in Trail, user will need Editor - level user rights.
For RFID inventory, Trail offers RFID labels and a handheld RFID scanner. If you are interested on learning more about starting a FRID inventory experience, please contact us at sales@trail.fi.
Charging the Handheld Scanner
Before starting inventory, make sure both handheld scanner and the phone attached to it have been charged.
- Keep the phone attached to the handheld reader, as it charges at the same time.
- You can charge the handheld reader using a charging dock or a power cable.
Creating a new inventory
You can start a new inventory either in Trail's browser version or Trail's mobile application
In the mobile app
- Open menu (three stacked lines in the upper-left corner)-
- Select Inventories
-
Create new inventory by tapping the plus icon in the top-right corner of the screen.
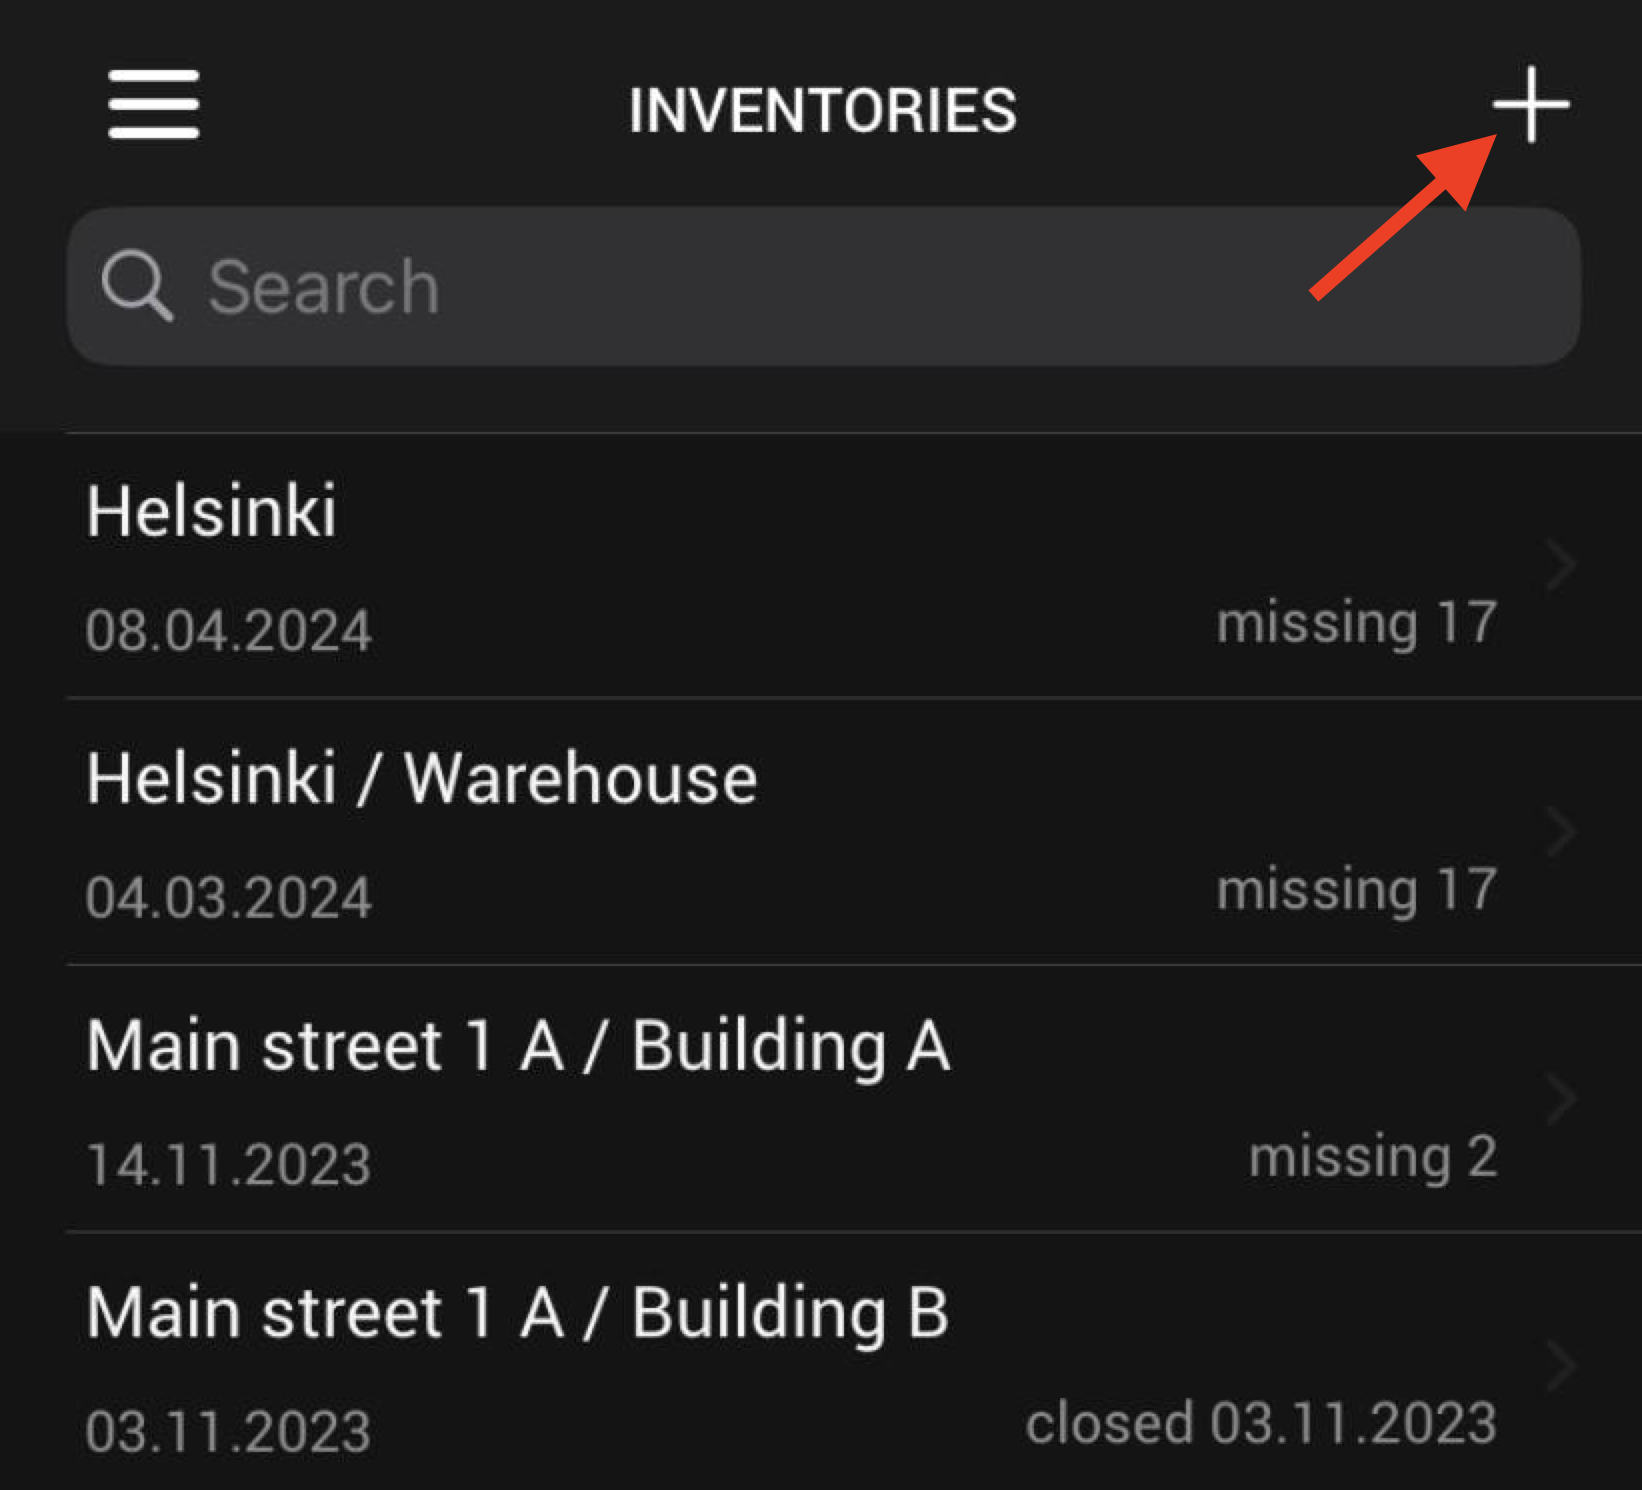
- Trail will list available locations.
- Search for the location you want to do inventory for. After finding it, press location's name to open inventory.
-
The inventory view for that location will now open.


Performing the Inventory
- During inventory, each item can have one of three statuses:
- Missing: Item is marked to the location, but hasn’t been scanned/found yet.
- Found: Item was detected during the inventory.
- Missplaced: Item is marked to another location, but was found in this one.
Start the RFID-device
- Turn on the handheld scanner by pressing and holding the power button located on the side.
- The device is on when you hear a beep and see a flashing green light on the side.
- Open the phone (attached to the scanner) and from the apps, select: Trail.
- Log in to the app with your own credentials.
- Any ongoing inventories will appear on the app’s home screen. Tap the location name to open an inventory.
Inventory
- Open inventory's view
-
When you're ready to start, press and hold the trigger button on the handheld scanner.

- Move slowly around the room, pointing the scanner at the items.
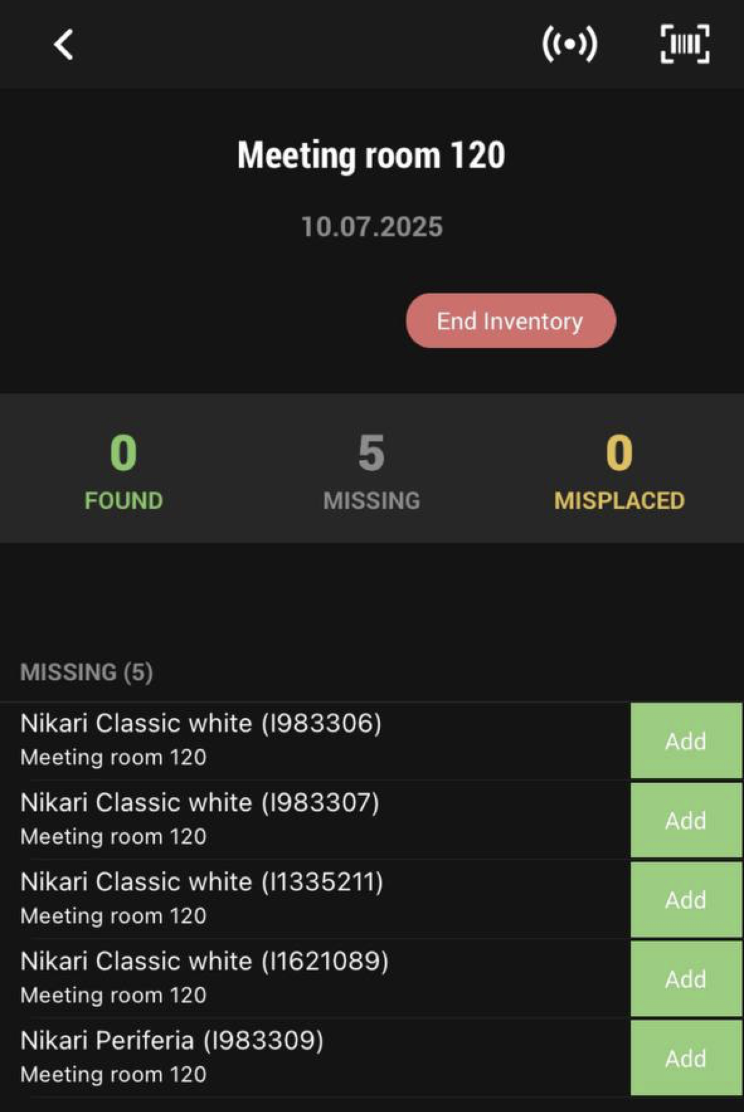
- As items are scanned, they will appear in the app as either Found or Missplaced.
- If scanner does not detect a label, check the label for the item ID and tap the "Add" button on that item's row.
- To remove found item, tap "Remove" on that item's row.


Ending the Inventory
- Once the inventory is complete, tap "End Inventory" at the top of the page.
- Note: If any items were found as missplaced, their location data will be updated automatically when the inventory is closed.