
Model page - Creating and editing models
Items added to Trail are always based on item models.
A model is the name given by the product manufacturer (manufacturer + model name). To ensure that products of the same model are grouped correctly, the same model cannot belong to more than one category. Example:
- Category: Chairs
- Models: Nikari Akademia and Nikari Seminar
In Trail, maintenance plans, images, and attachments can be added at the model level. This information is automatically visible on all items of the same model.
Topics:
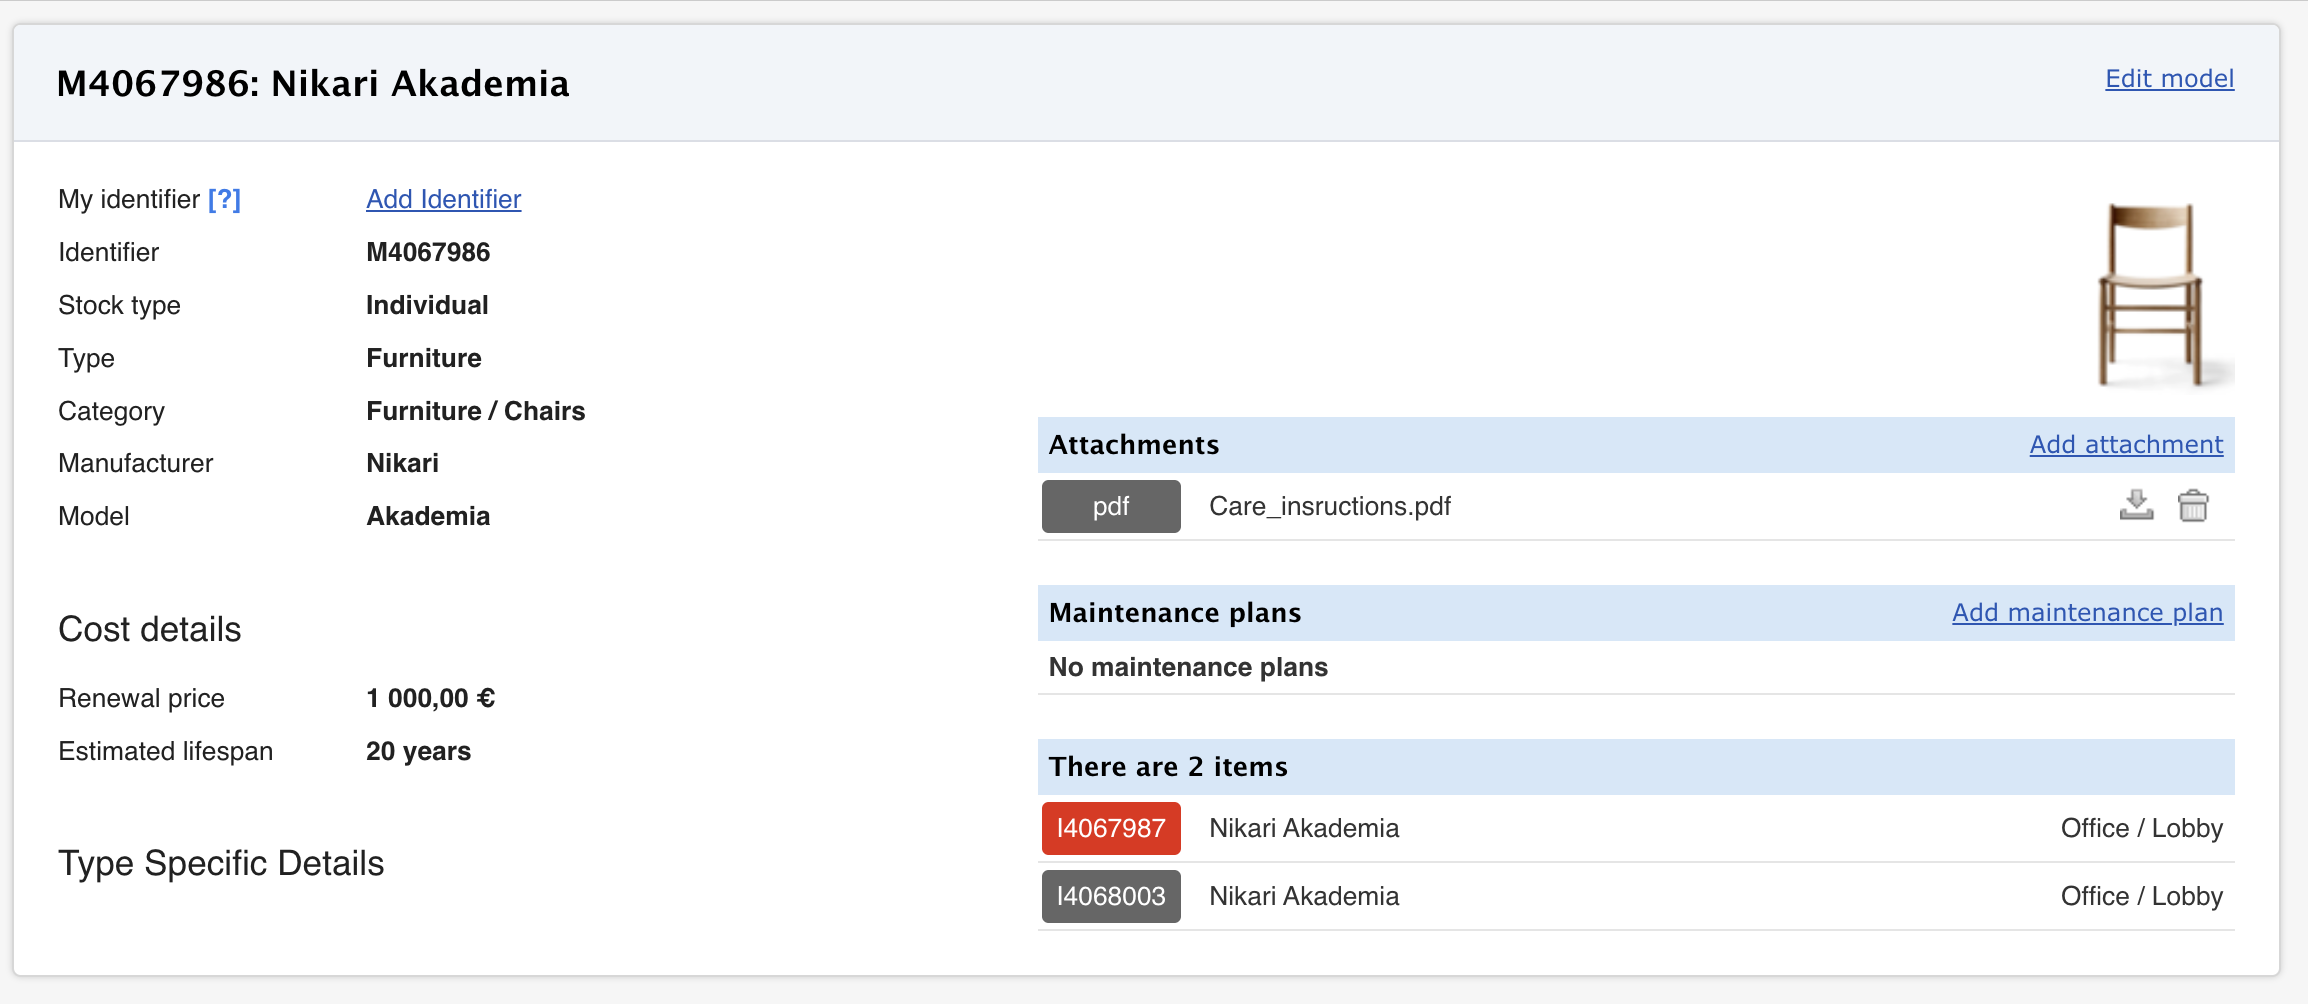
Model card
Each model has its own model card and identifier (e.g. M1234567).
The model card can be used to manage:
- model-specific cost details (renewal price and lifespan)
- images and attachments (visible on all items of the model)
- maintenance plans (applicable to all items of the model)
- manufacturer barcodes (additional setting)
- items of the model (list of active and removed items)
Note! The label printed from the model card is model-specific. Unique labels must always be printed from individual item cards.
Creating a new model
When a new item is added to Trail — either through the system or via Excel — and the model does not already exist, a model card is created automatically. It does not need to be created in advance.
If needed, a new model can be created in advance through the model list. Creating a model in advance makes it easier to define information consistently: the correct spelling of the model name and the right category and item type can be set from the start. Creating a new item model requires editor-level access to the Items module.
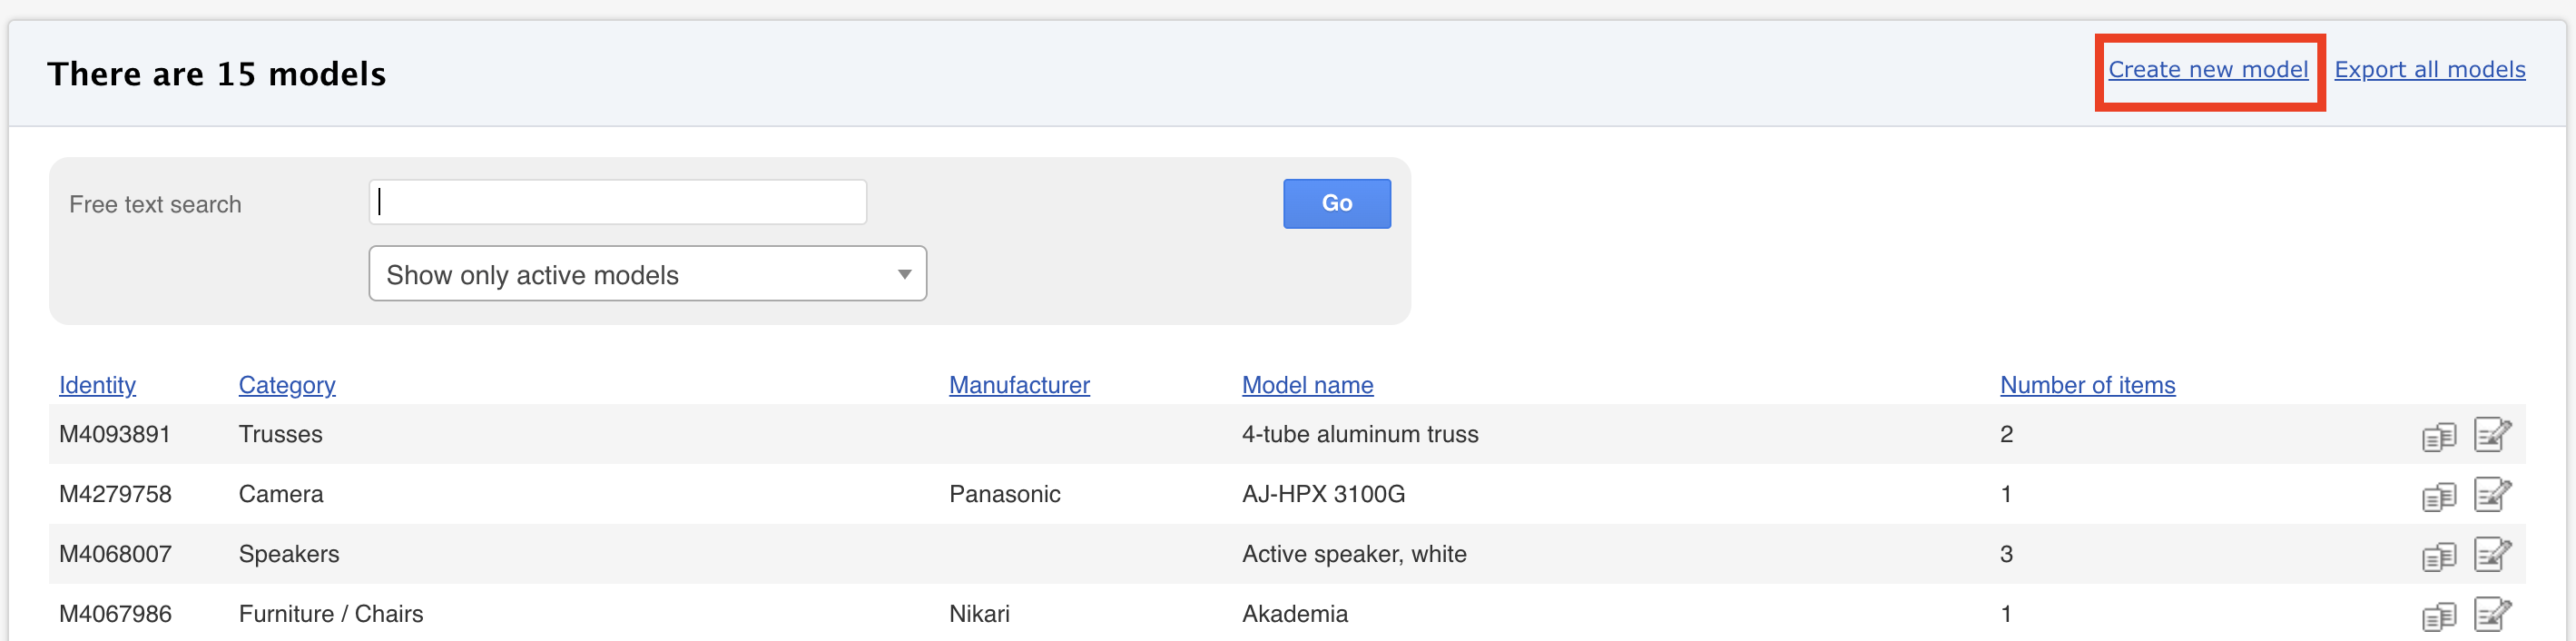
- Go to Items > Models
- Click Create new model
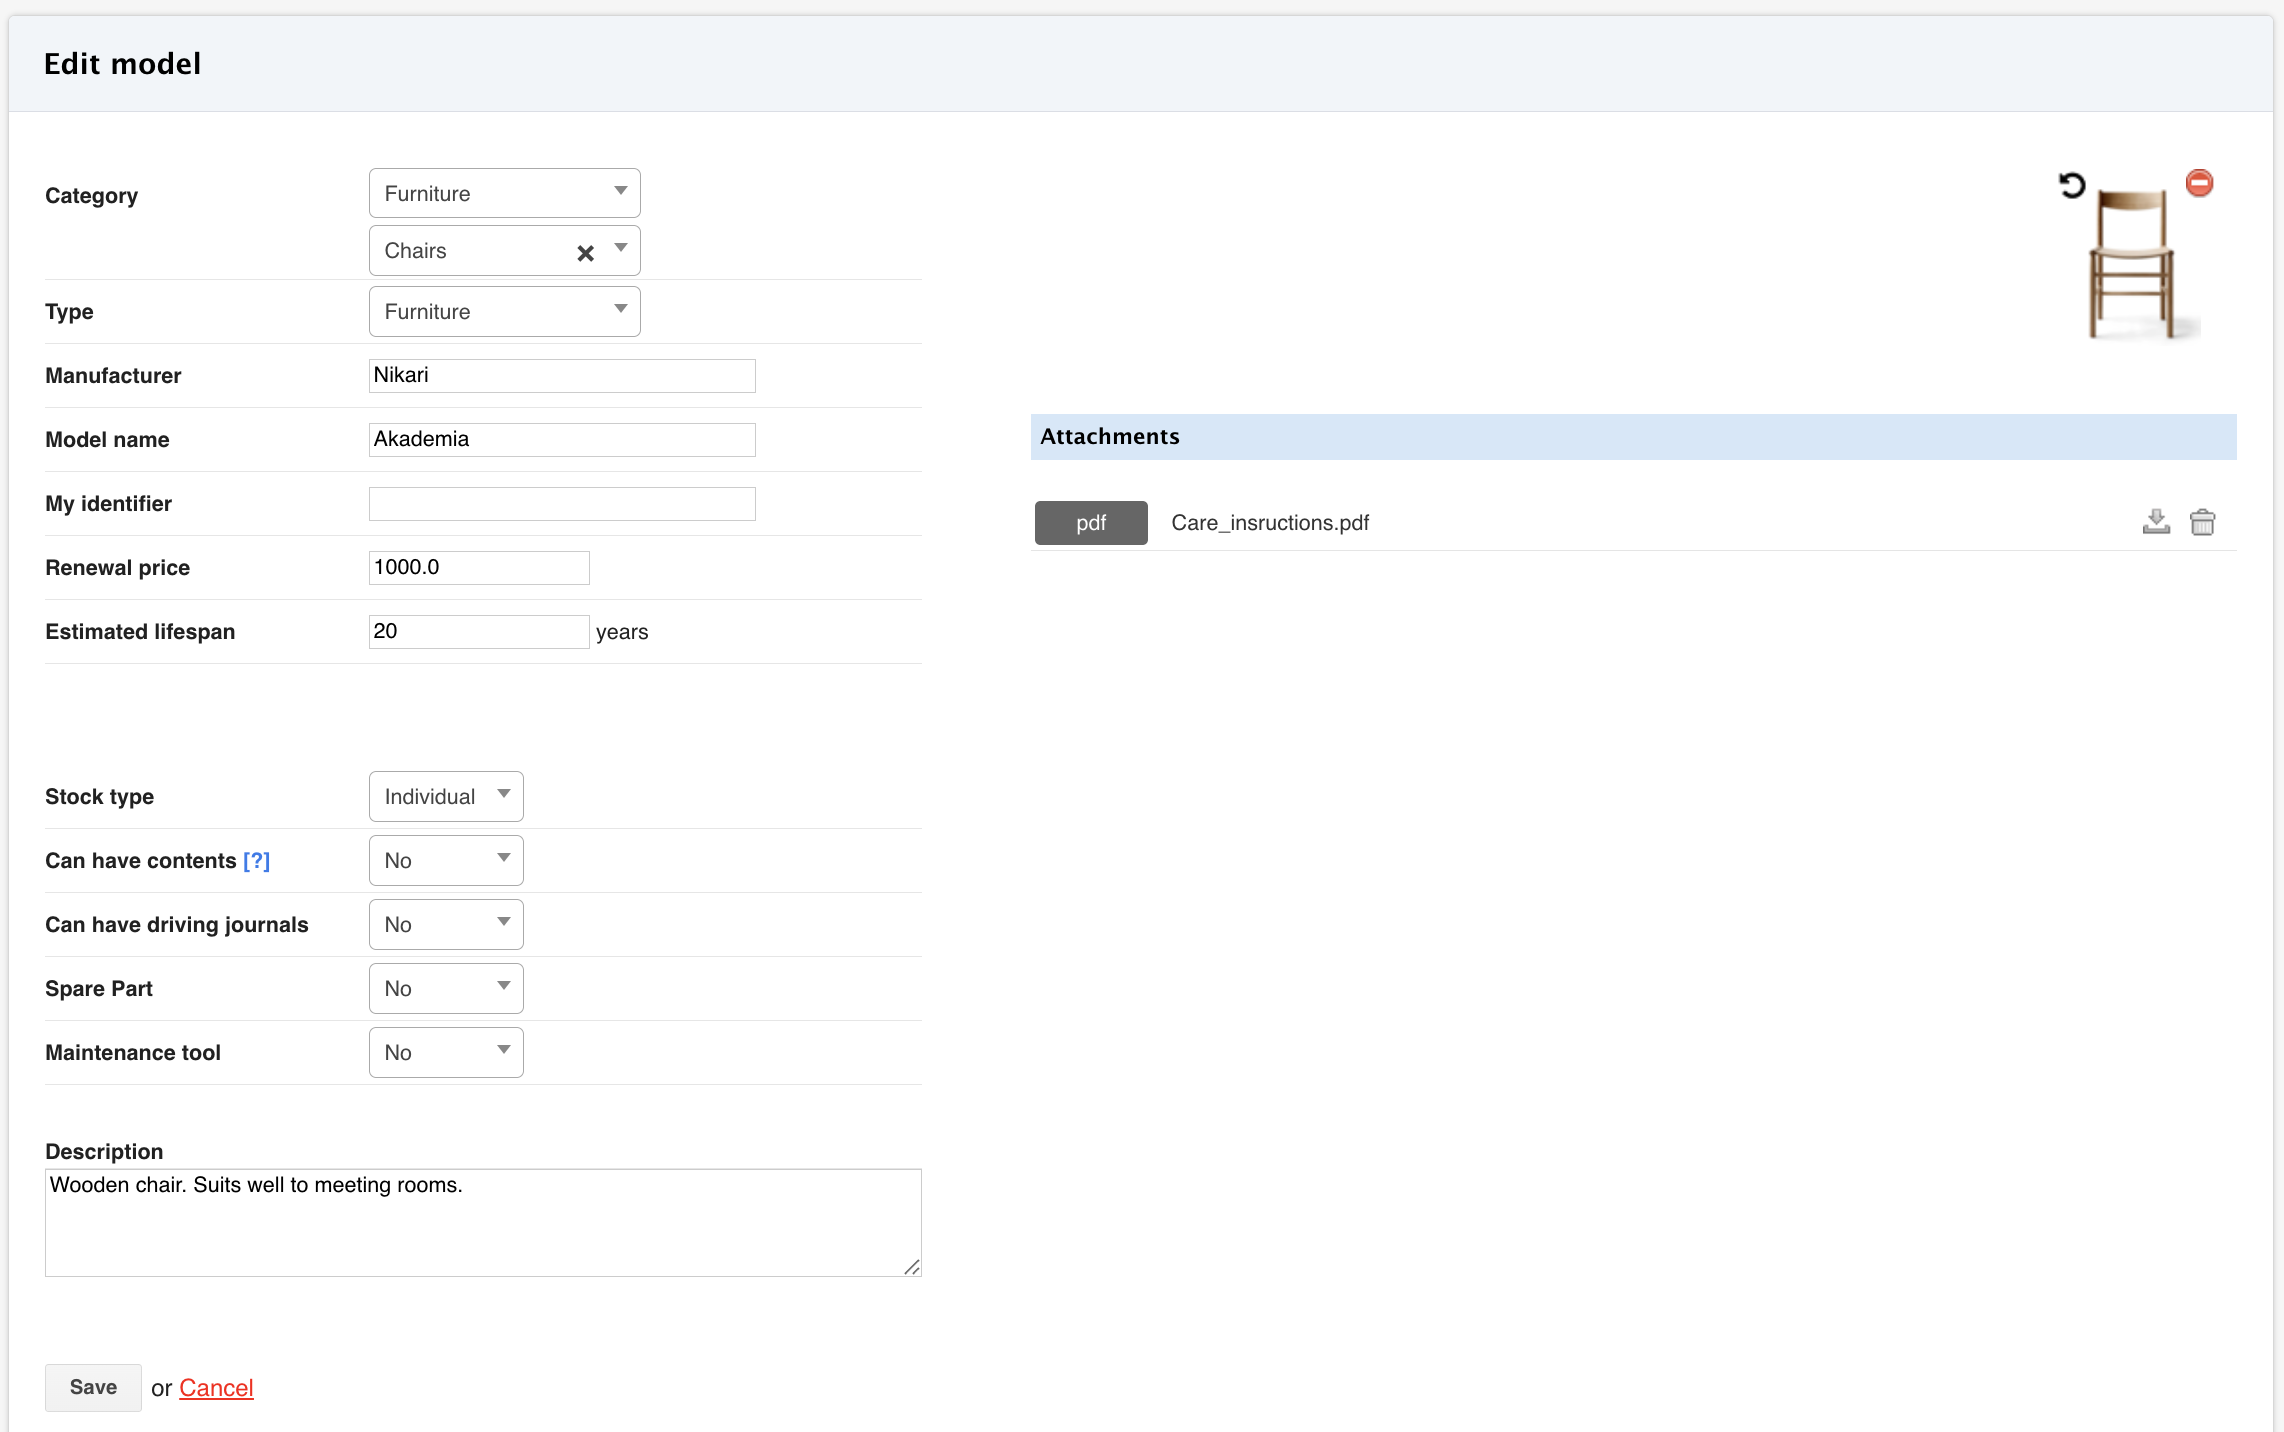
- Fill in at least the following:
- Category – select the appropriate category from the dropdown menu
- Item type – determines which additional fields can be added to items (or the model)
- Manufacturer – if known
- Model – the official model name given by the manufacturer
- Stock type defines the type of model:
- Individual – default! enables tracking of items individually
- Stock model – moves the model to the Stock models view. In the stock model, products are tracked by quantity only.
- Consumable – moves the model to the Consumables view. Consumables are tracked by quantity only.
- Once the details are filled in, click Save.
- The new model card has been created.
- Items can be added to this model from Items – All items.
My identifier – If the setting "Custom identifier" has been enabled in general settings, a unique identifier can be added to the model. The identifier can be used to search for the model and its associated items.
Editing an item model
Requires editor-level access to the Items module.
- Open for editing:
- From the model card, click Edit model
- From the model list, click the edit icon
- Make your changes and click Save.
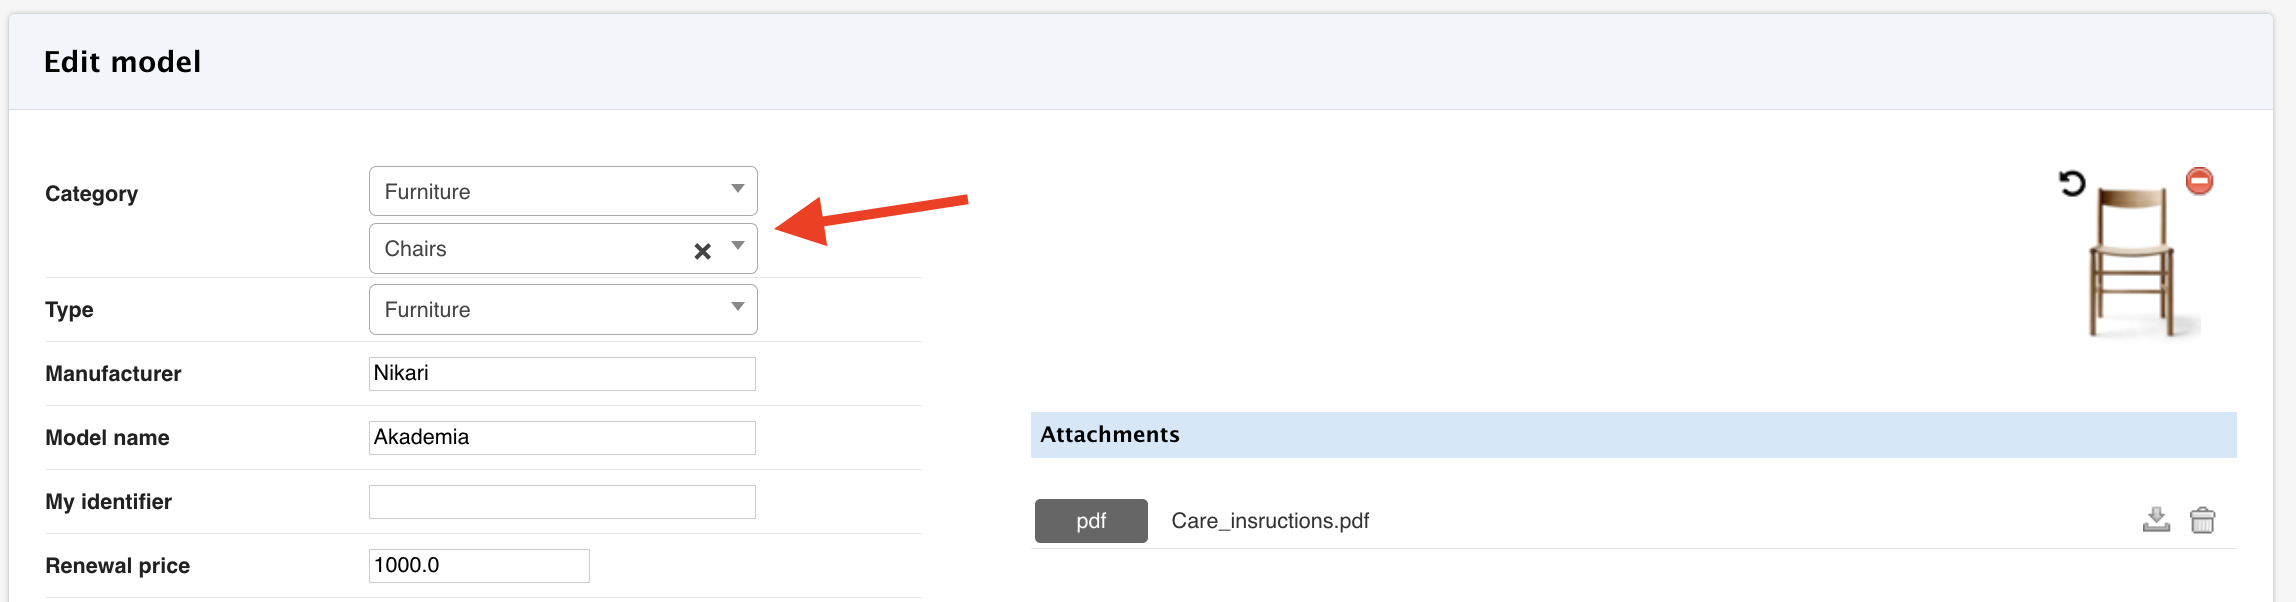
FAQ: Can a model's category be changed afterwards?
- Yes, it can!
- Open the model for editing
- Select the correct category
- Save
⭐ Tips
Keep item models clear and consistent. Well-defined models make item management and reporting easier.