Inventory on browser
The Inventory feature allows you to verify the physical presence of items assigned to a location and update their location information in Trail.
Inventories can be found under Items → Inventory
Creating and carrying out inventories requires editor rights for inventories.
Topics:
Inventory list
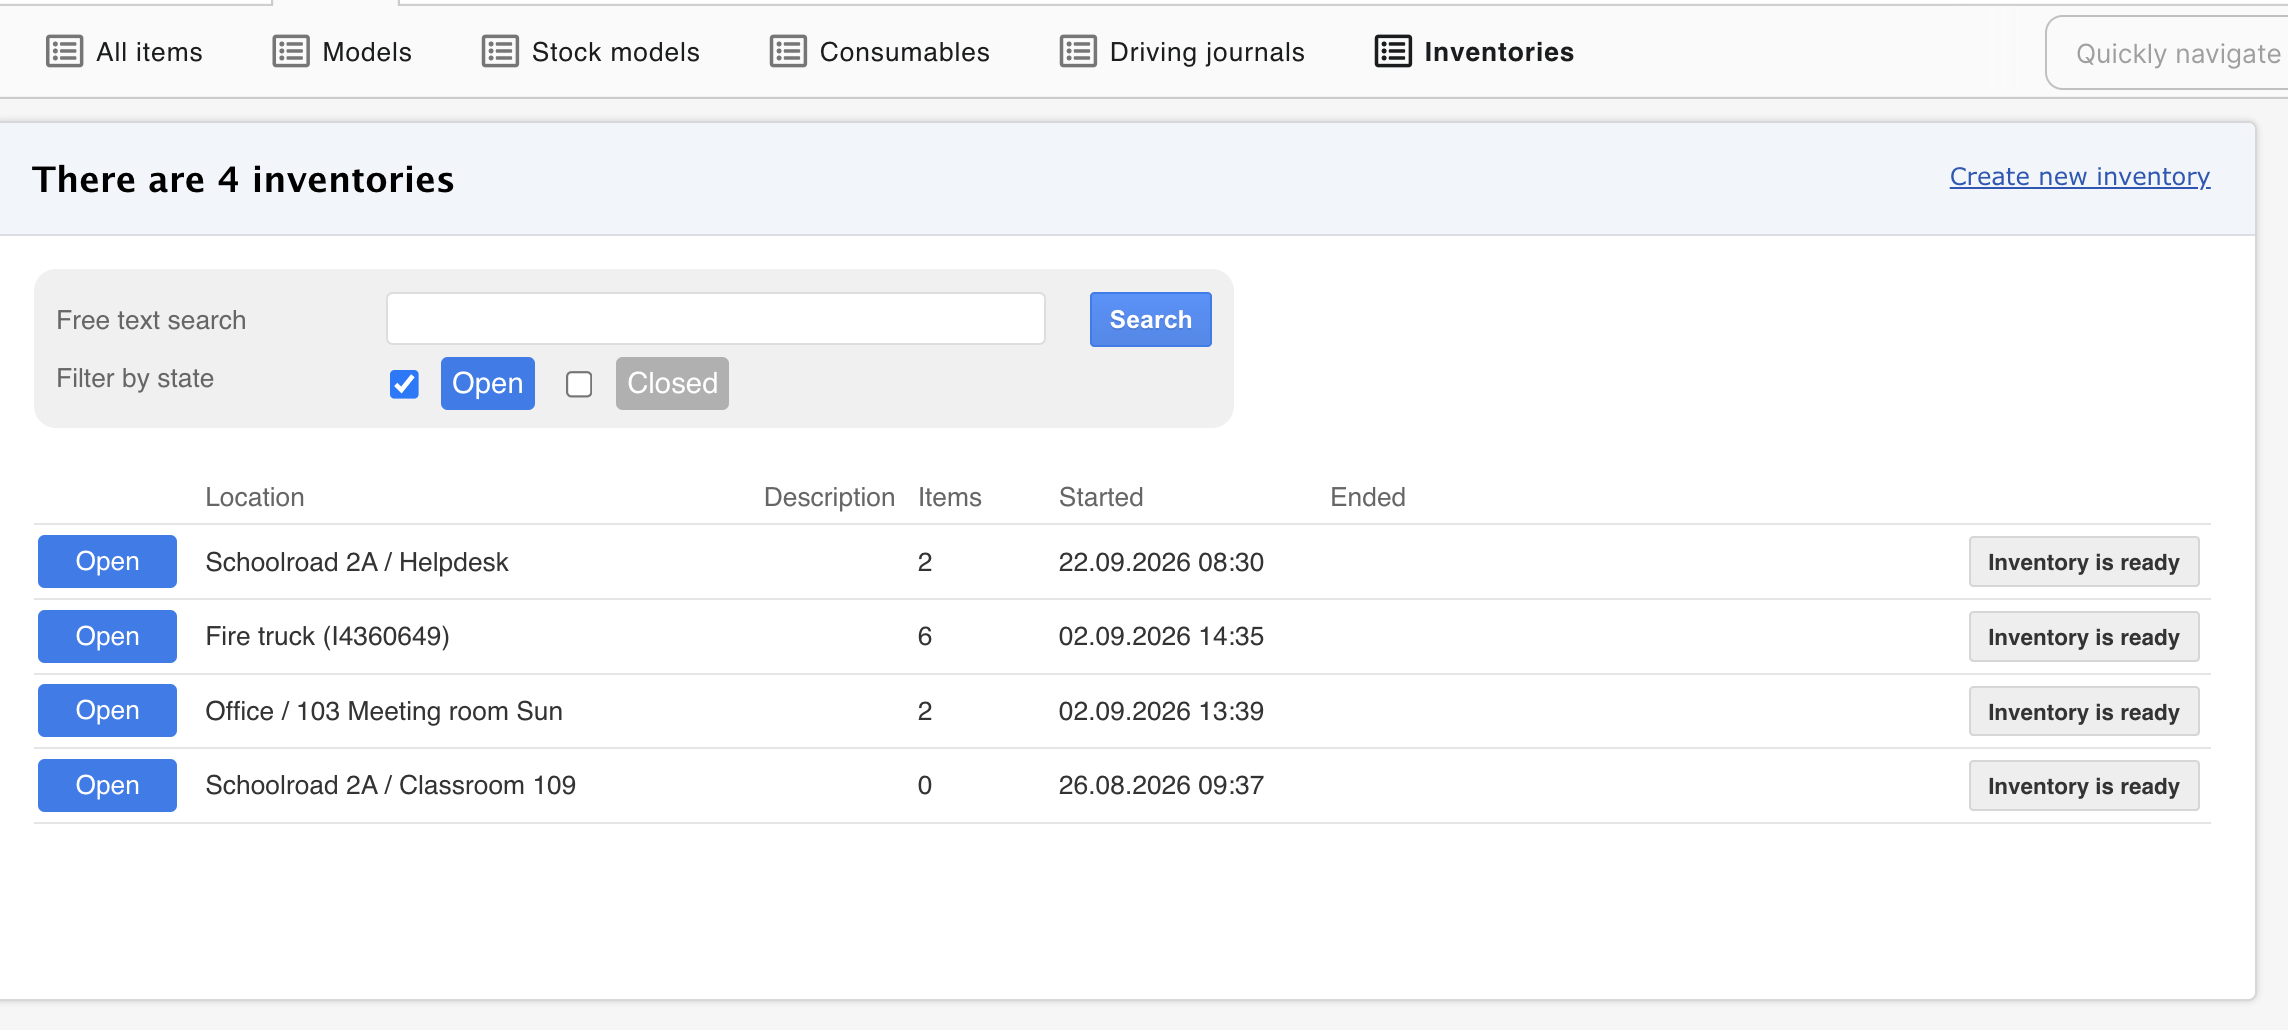
You can view ongoing and previously completed inventories as follows:
- Open Items → Inventory
- Search for inventories using the following filters:
- Free text: Search by location name. Inventories are usually found using the sublocation name
- Inventory status: Search for ongoing or closed inventories
Create new inventory
- Open Items → Inventory
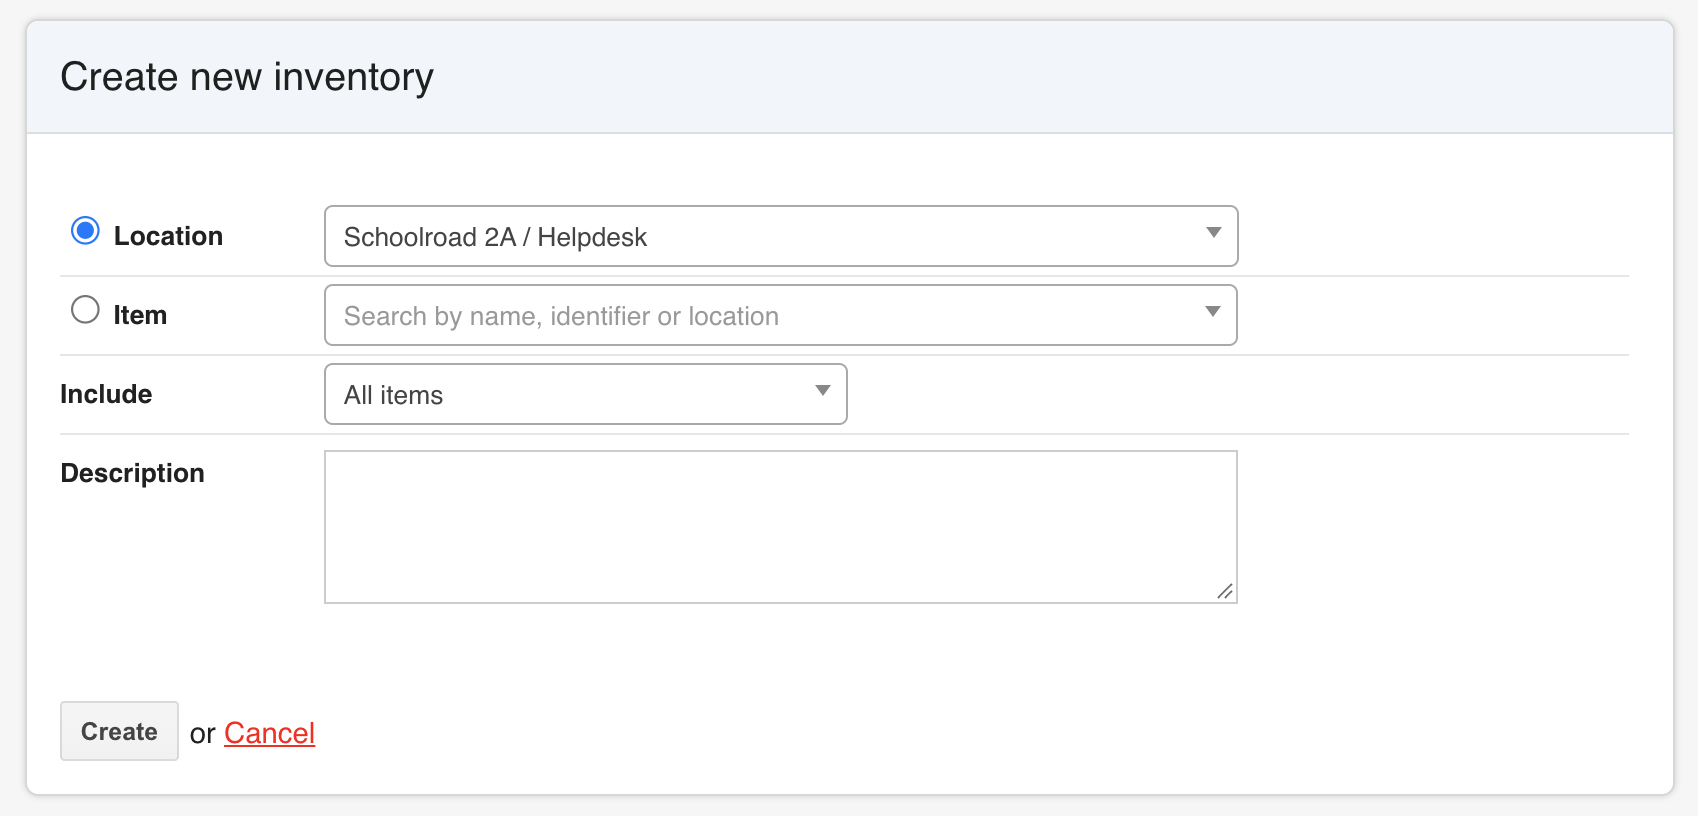
- Click Create new inventory in the upper-right corner
- Fill in the following information:
- Location: Search for the exact location where the inventory will be carried out
- If a building has sublocations, inventories are carried out by sublocation. For example, School Road 2A / Storage
- Include: Select whether the inventory should include all items or only marked items
- Marked items are items that have a label printed or linked from Trail, or that have information entered in the My identifier -field
- Description: Optionally enter a description or additional information. The description is shown in the inventory list
- Location: Search for the exact location where the inventory will be carried out
- Click Create
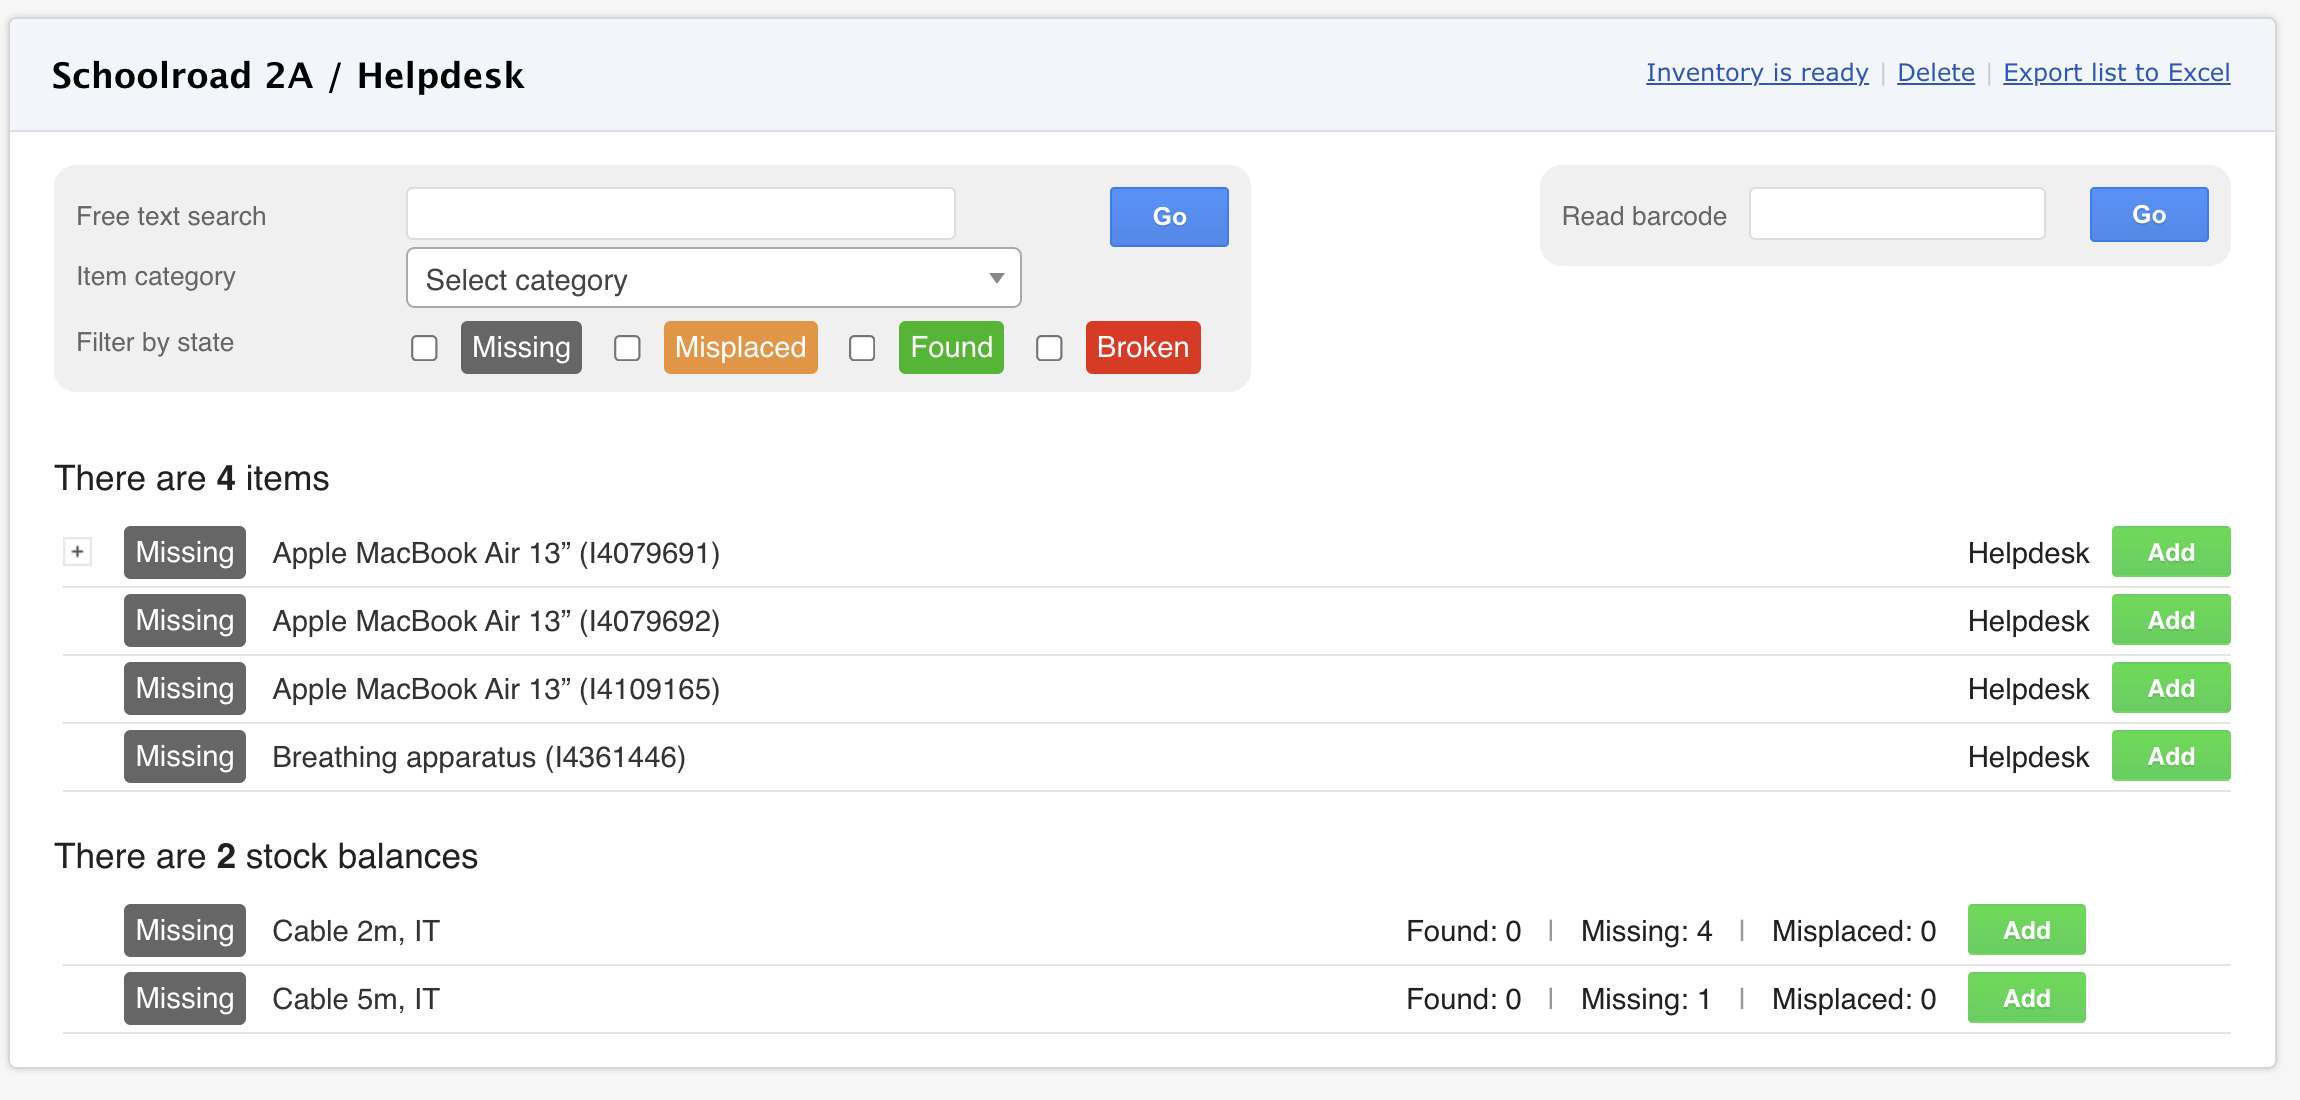
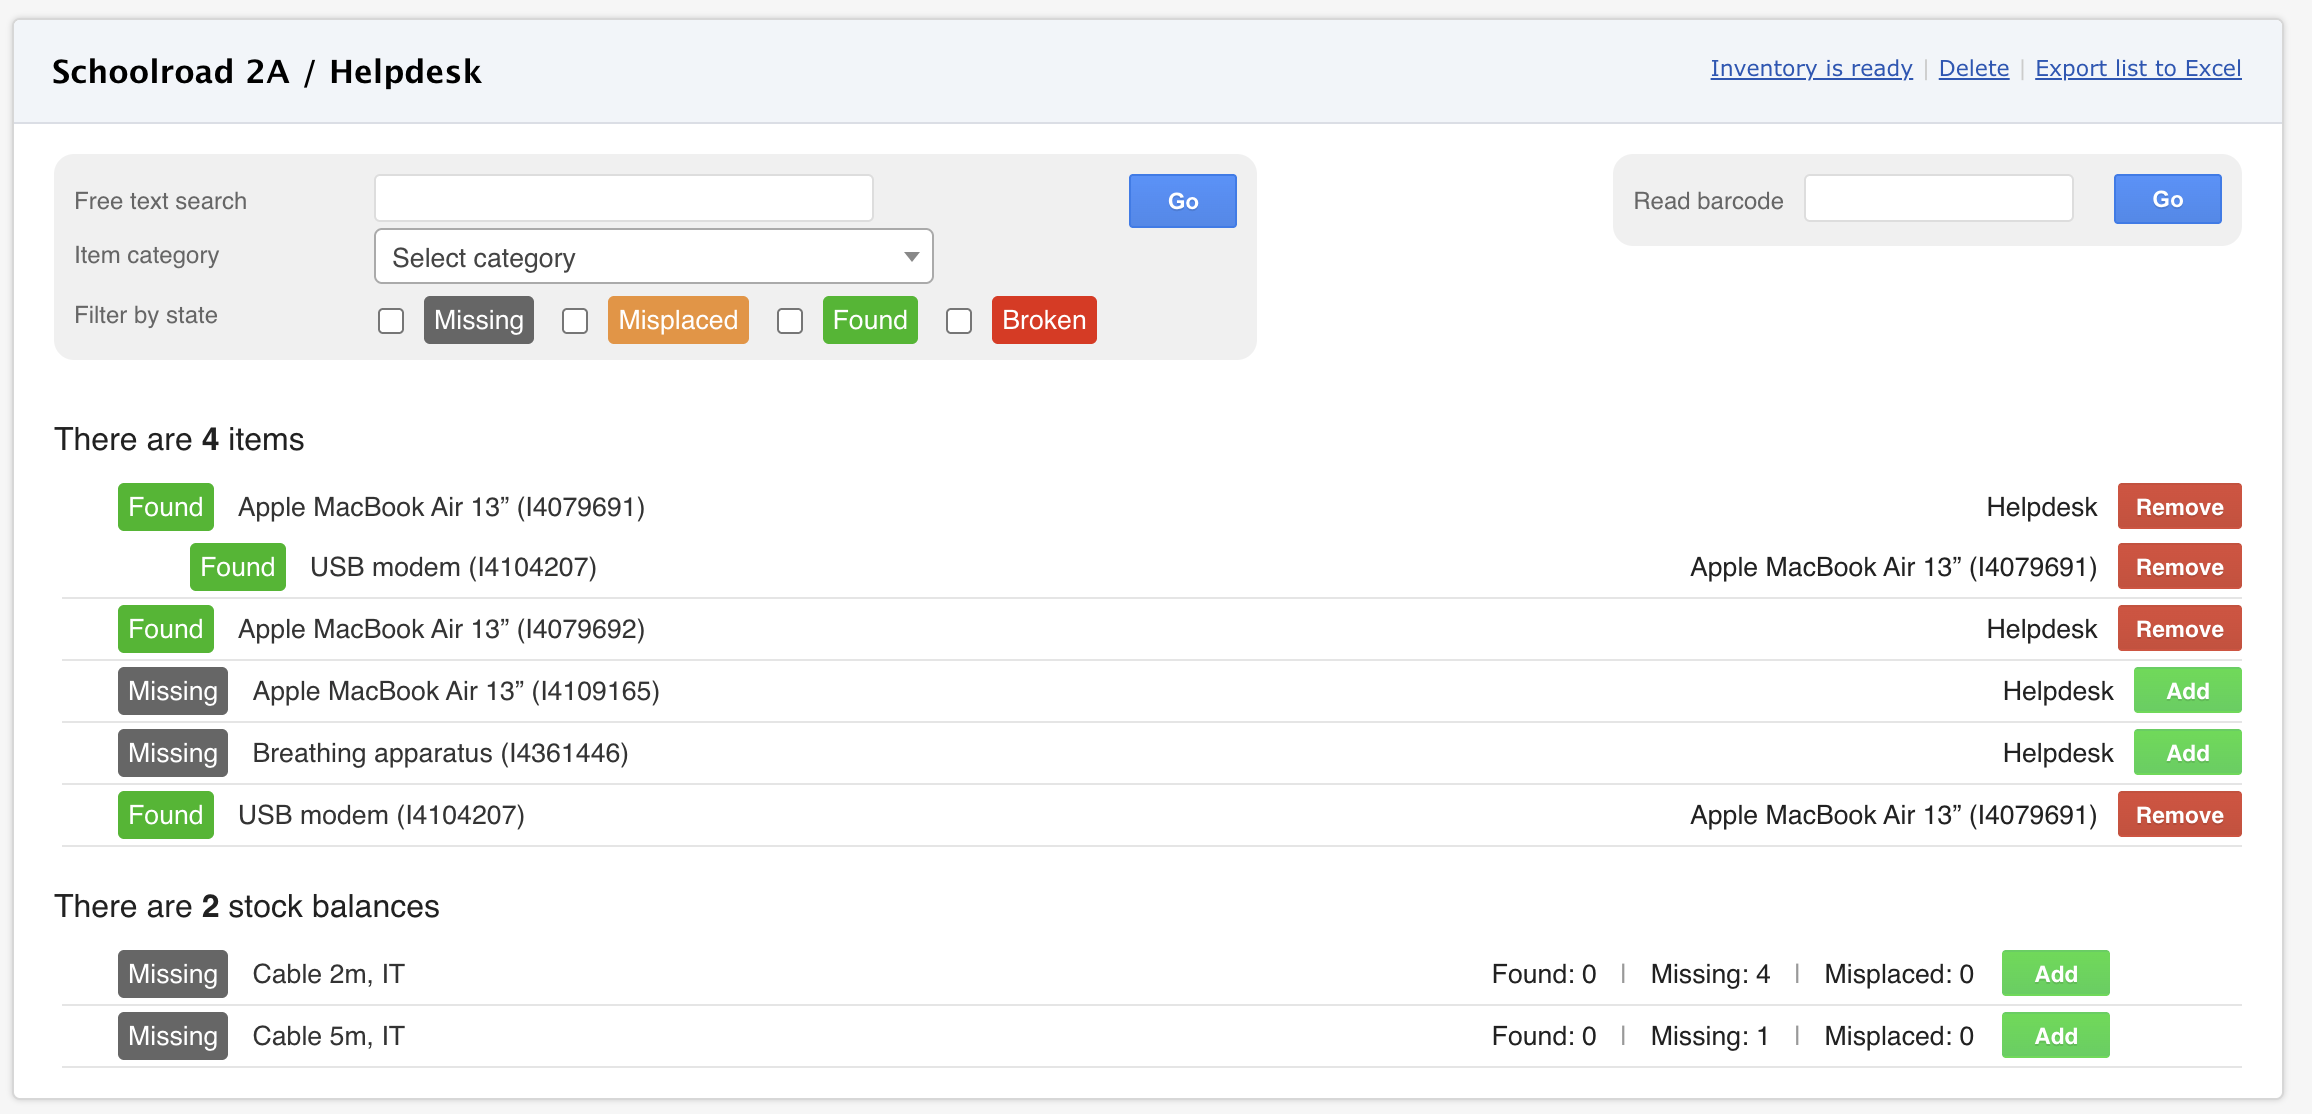
- The inventory page opens and displays all items assigned to the selected location.
Perform inventory
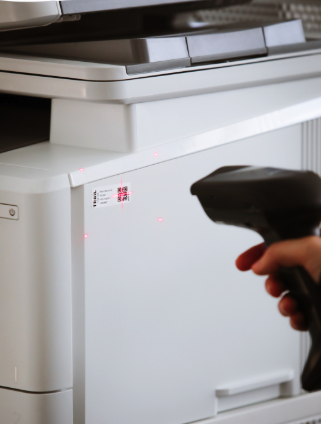
⭐ We recommend using a barcode scanner or RFID reader when carrying out inventories, as this makes scanning items significantly faster. Separate instructions are available for RFID inventories: Inventory with an RFID reader
- Click the Read barcode field
- Scan the QR codes or barcodes of the items in the location
- If an item's label cannot be scanned, find the item in the list and click Add
- The scanned item automatically changes to Found status
- To undo a scan, click Remove on the item row
| Status | Explanation |
|---|---|
| Missing | The item belongs to the location but has not yet been scanned or found |
| Found | The item assigned to the location has been found during the inventory |
| Misplaced | The item is assigned to another location. When the inventory is completed, its location is automatically updated to the inventoried location |
| Broken | The item has an open defect report |
Special situations:
- The label is worn or damaged: Find the item in the list using its Trail ID and click Add, or enter the ID directly in the Read barcode field. Print a new label for the item at the same time
- The item cannot be found in the location: Try to locate all items with the Missing status before completing the inventory. An item may have been overlooked or lost
Close an inventory
Note: Once an inventory has been completed, its information can no longer be edited.
- Open the inventory
- Click Inventory is reade
- Confirm by clicking OK
- When the inventory is completed, location information is updated as follows:
| Status | What happens |
|---|---|
| Found | The item remains in the location. The Last seen column is updated if it is enabled in the item list |
| Missing | The item remains in the location. Missing items can be searched for separately in the item list |
| Misplaced | The item's location is automatically updated to the inventoried location |
Search for inventoried items in the item list
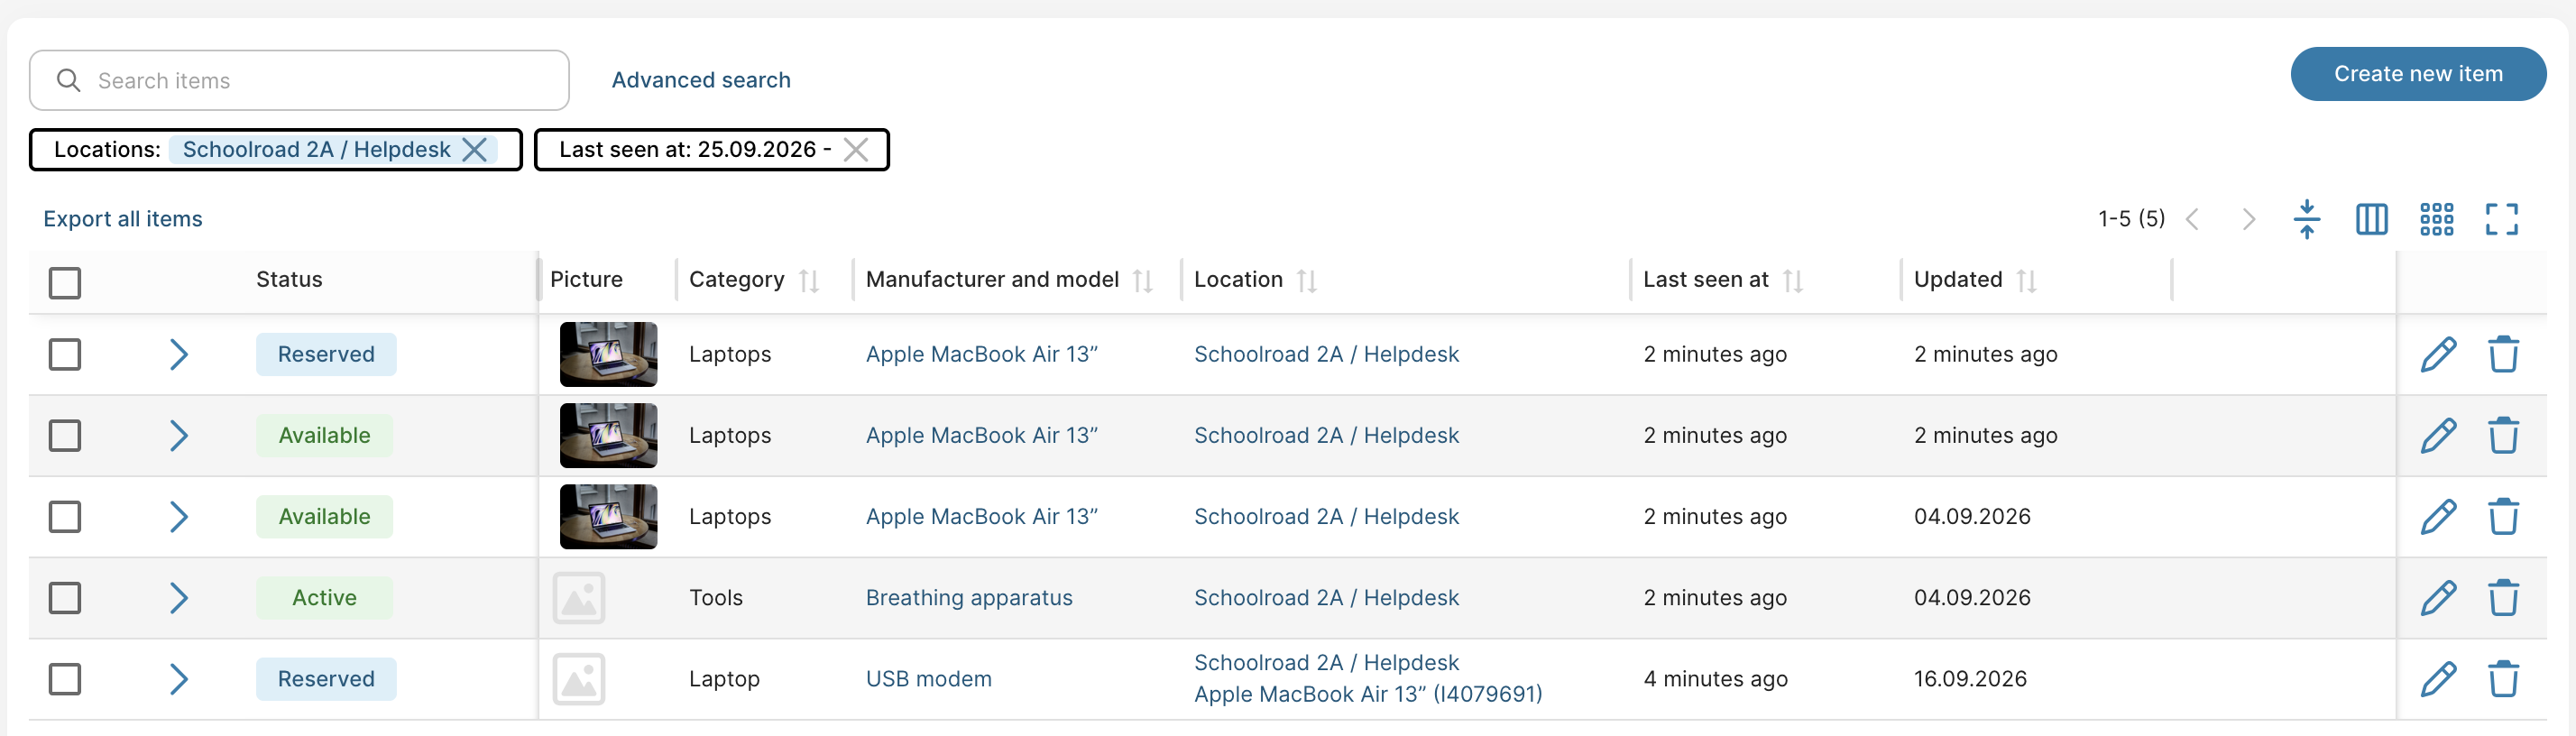
- Open Items → All items
- Open Advanced search
- Enter the search criteria:
- Location: Select the location you want to review
- Last seen at : Select whether you want to search for found or missing items
- Date in both fields: Shows items that were seen during the selected date range
- Date only in the first field: Shows items that have been seen after the selected date
- Date only in the second field: Shows items that had not been seen by the selected date, for example items that remained in Missing status during the inventory
Export an inventory to Excel
- Open Items → Inventory
- Open the inventory you want to export
- Might be found with the state Closed
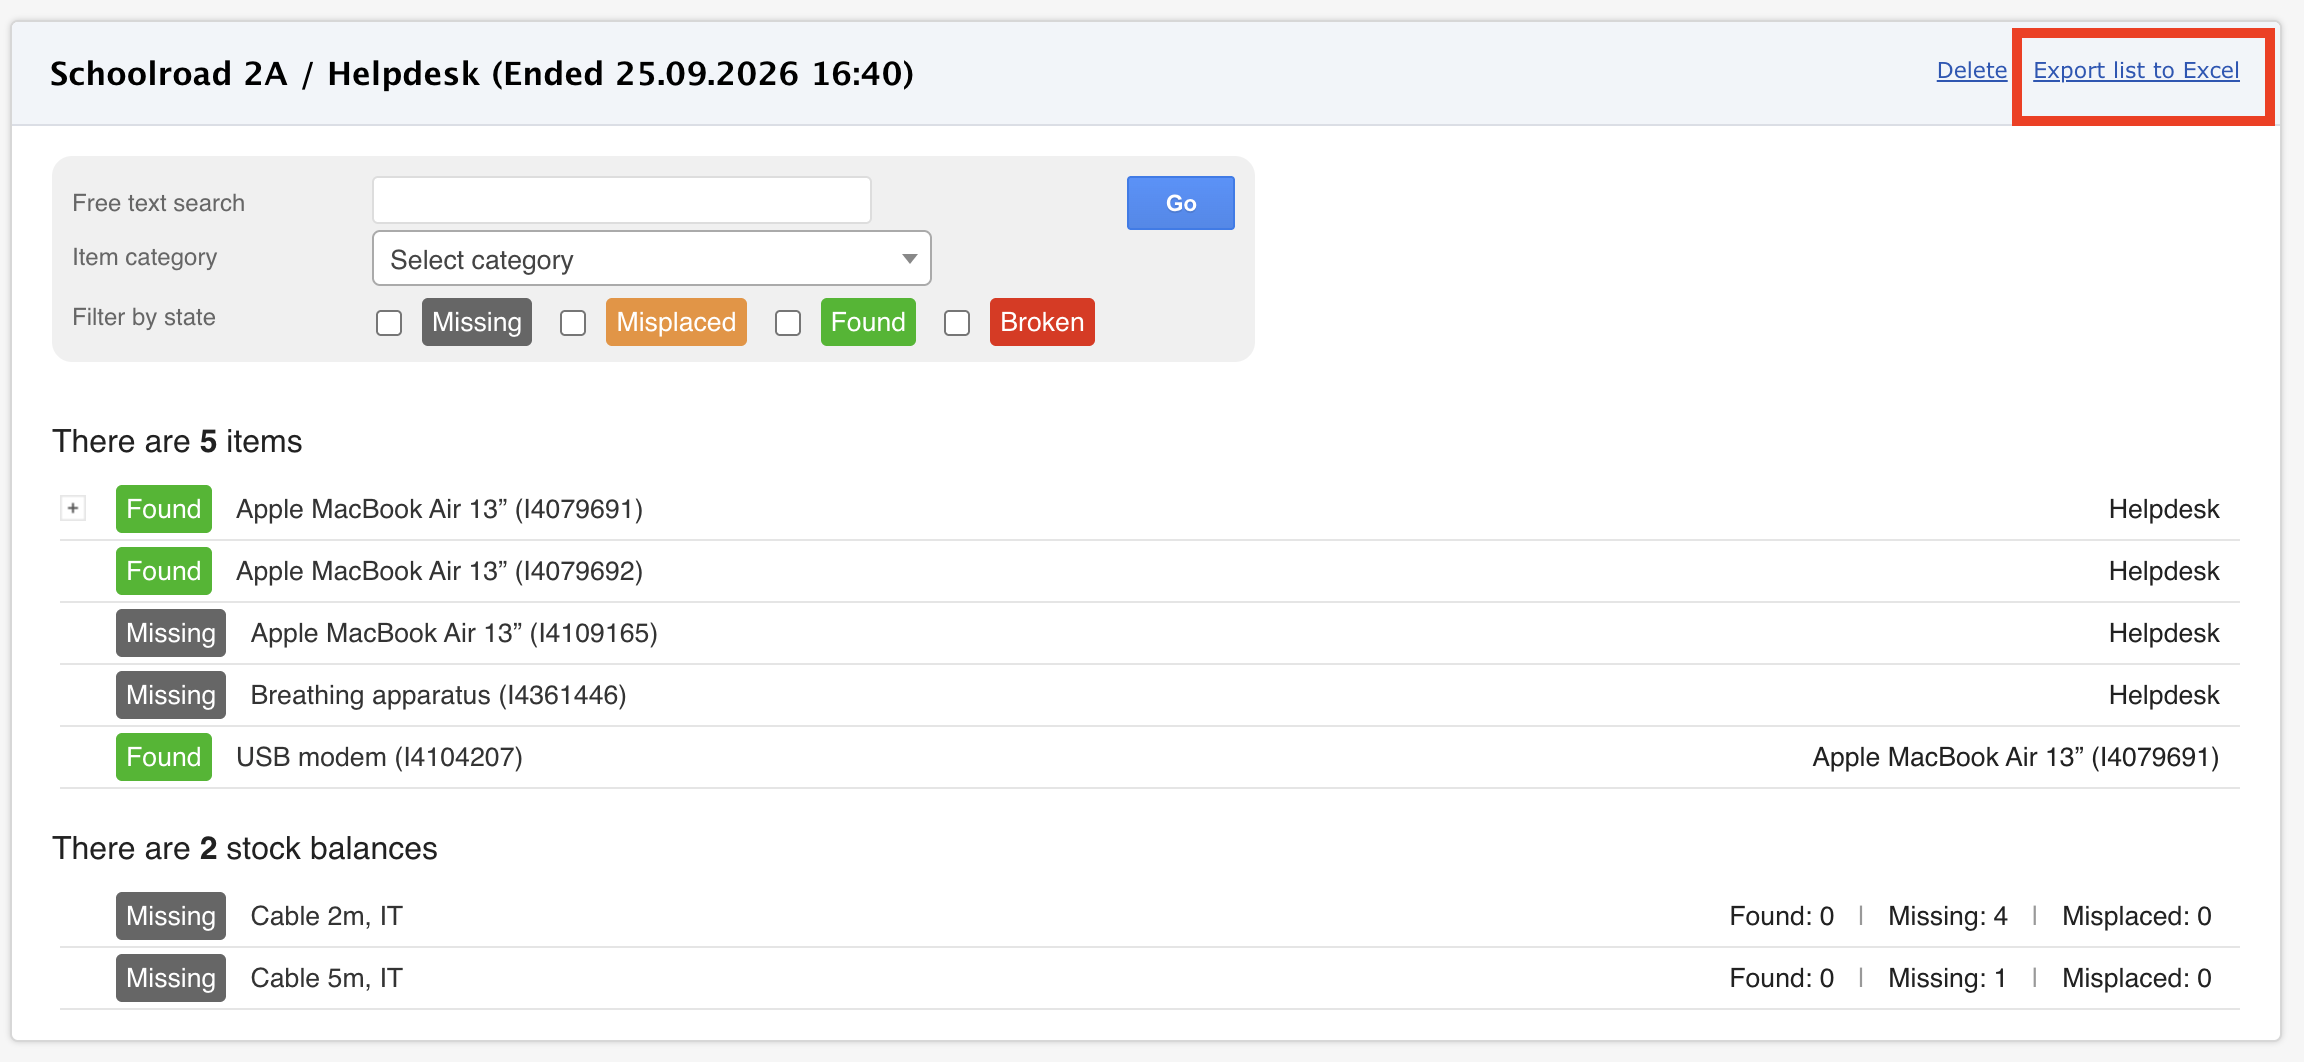
- Click Export list to Excel
- The file is exported to your device