
Self-service Locker (reservations)
Trail’s reservation feature makes it easy to reserve items and track their returns. When combined with a self-service locker, you get a solution that allows items to be picked up and returned anytime – without staff needing to be present.
The locker is part of Trail’s additional services.
Could this be useful for you?
Contact Trail Sales at sales@trail.fi, and we will start finding the best solution for you.
In this guide, we explain following topics:
How to reserve an item?
- Trail's item list allows to easily search for needed items.
- Open Items – All items
- Search for the item you need for example by location, or the item.
- The Location column shows from which locker the item can be found
- Select the item (or items) by clicking its checkbox

- Click Add to reservation
- You can either create a new reservation or add it to an existing reservation plan

- When creating a new reservation, enter at least a title and the start and end times
- Click Add or Create reservation
- You can add items from one or several lockers to a reservation.
Picking up the item:
- Go to the self-service locker.
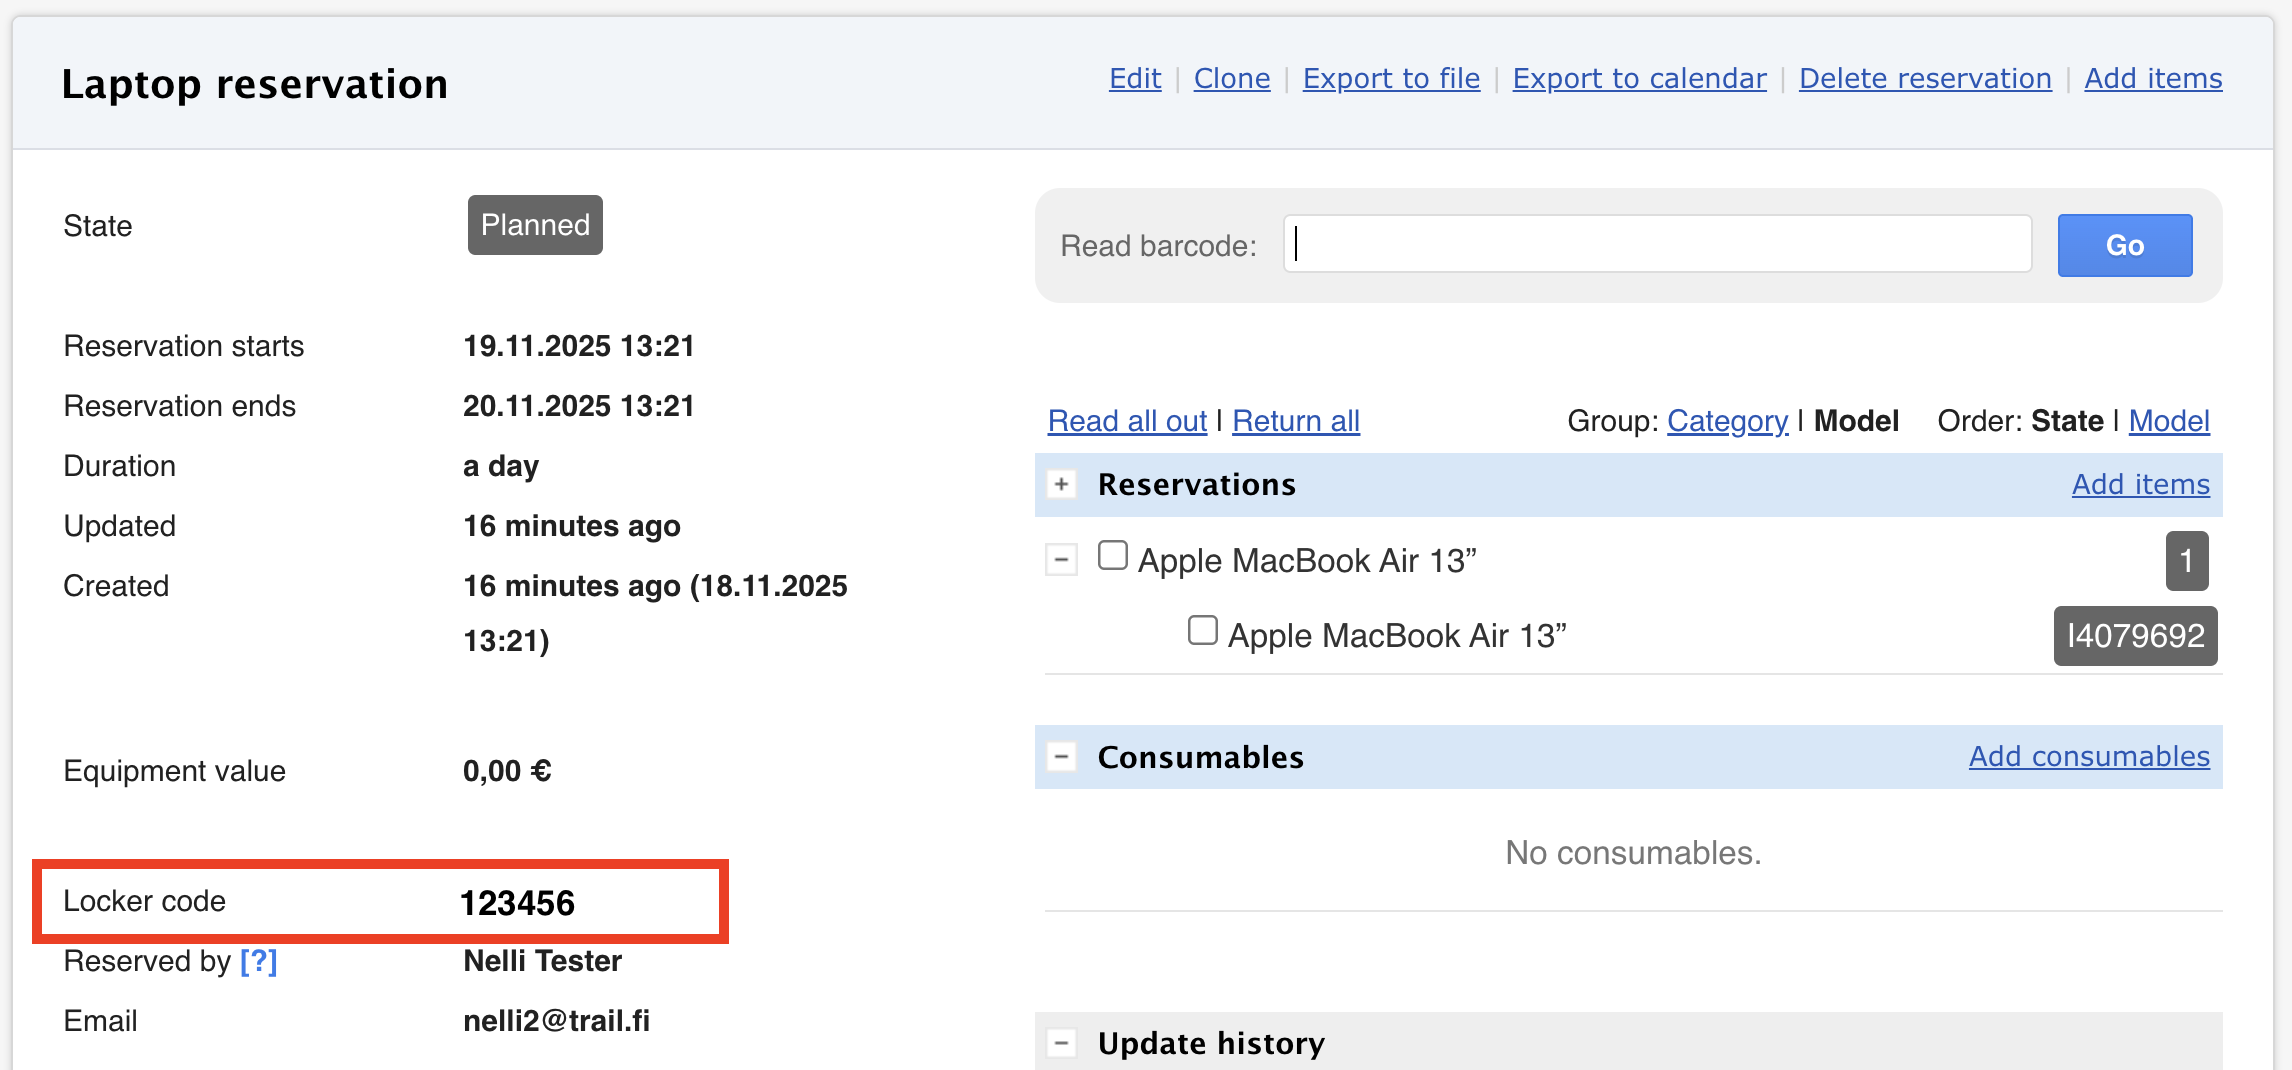
- Enter the reservation's Locker code on the locker’s screen. The code can be found from reservation's details in Trail's browser version.
- If the reservation includes multiple items from different lockers, the same PIN will open all the correct lockers.
- Take out the item and close the locker
- The reservation is updated automatically, and the item will appear as reserved.
Returning the item:
- Enter the same Locker code on the locker’s screen
- Return the item to the locker and close the door
- Trail marks the reservation as returned
Using the Self-Service Locker (when accept reservation setting is used)
- Reserver – Create a reservation plan as usual:
- Open Items – All items.
- Search for the item you need using the location or item's name.
- Select one or more items by clicking the checkbox.
- Click “Add to reservation.”
- If this option is not visible, please contact Trail Support (support@trail.fi).
- You can create a new reservation or add the item to an existing reservation plan.
- Click Add or Create reservation.
- Equipment can be added to the reservation from one or multiple lockers.
2. Responsible user – Prepares and transfers the reserved items into the locker.
- Items can be stored permanently in the self-service locker.
- If there are items that should not be stored in the locker permanently, they can be moved into the locker at this stage.
- Remember! In Trail, the item's location must be changed from an empty locker to the correct one.
- If desired, the responsible user can notify the reserver that the items are ready for pickup with a Locker code.
3. Responsible user – Approves or rejects the reservation
- The responsible user must have Editor access to reservations to do this.
4. Reserver – Picks up and returns the items using the locker code
- The reserver uses the reservation’s locker code to collect and return the items.
- The code can be found in the reservation details.
⭐ Trail tips:
- Need more guidance on creating a reservation? You can find the step-by-step guide here: Creating a new reservation
- Plan your reservation in advance – this way you ensure you get the item you need exactly when you need it.
- Location-based reservations – If your organization uses location-based reservations, you can also plan items directly from the reservation’s own view. Learn more: Location-based reservations.