
Creating a new transport
The Transports module allows you to easily create and execute transports between different locations. This article guides you on where to find the transport plans and what the individual transport view looks like.
If the module would be beneficial for you, please contact us: sales@trail.fi. We are happy to help you activate the module!
Topics:
What is the Transports module?
- The Transports module is great feature to help planning and tracking transports.
- It is typically used in conjunction with the Productions module or reservations.
- Additional feature: This is a paid feature requiring activation.
- Mobile use: Transport execution will require the use of the Trail iOS mobile application.
Transport user rights
- No → No access.
- Reader → When transport plan is approved, user can scan items into the transport and into the destination.
- Editor → User can create, edit and delete transports.
Creating a new transport
Creating a new transport is done in the Trail web version. You need Editor -user rights for the transport module.
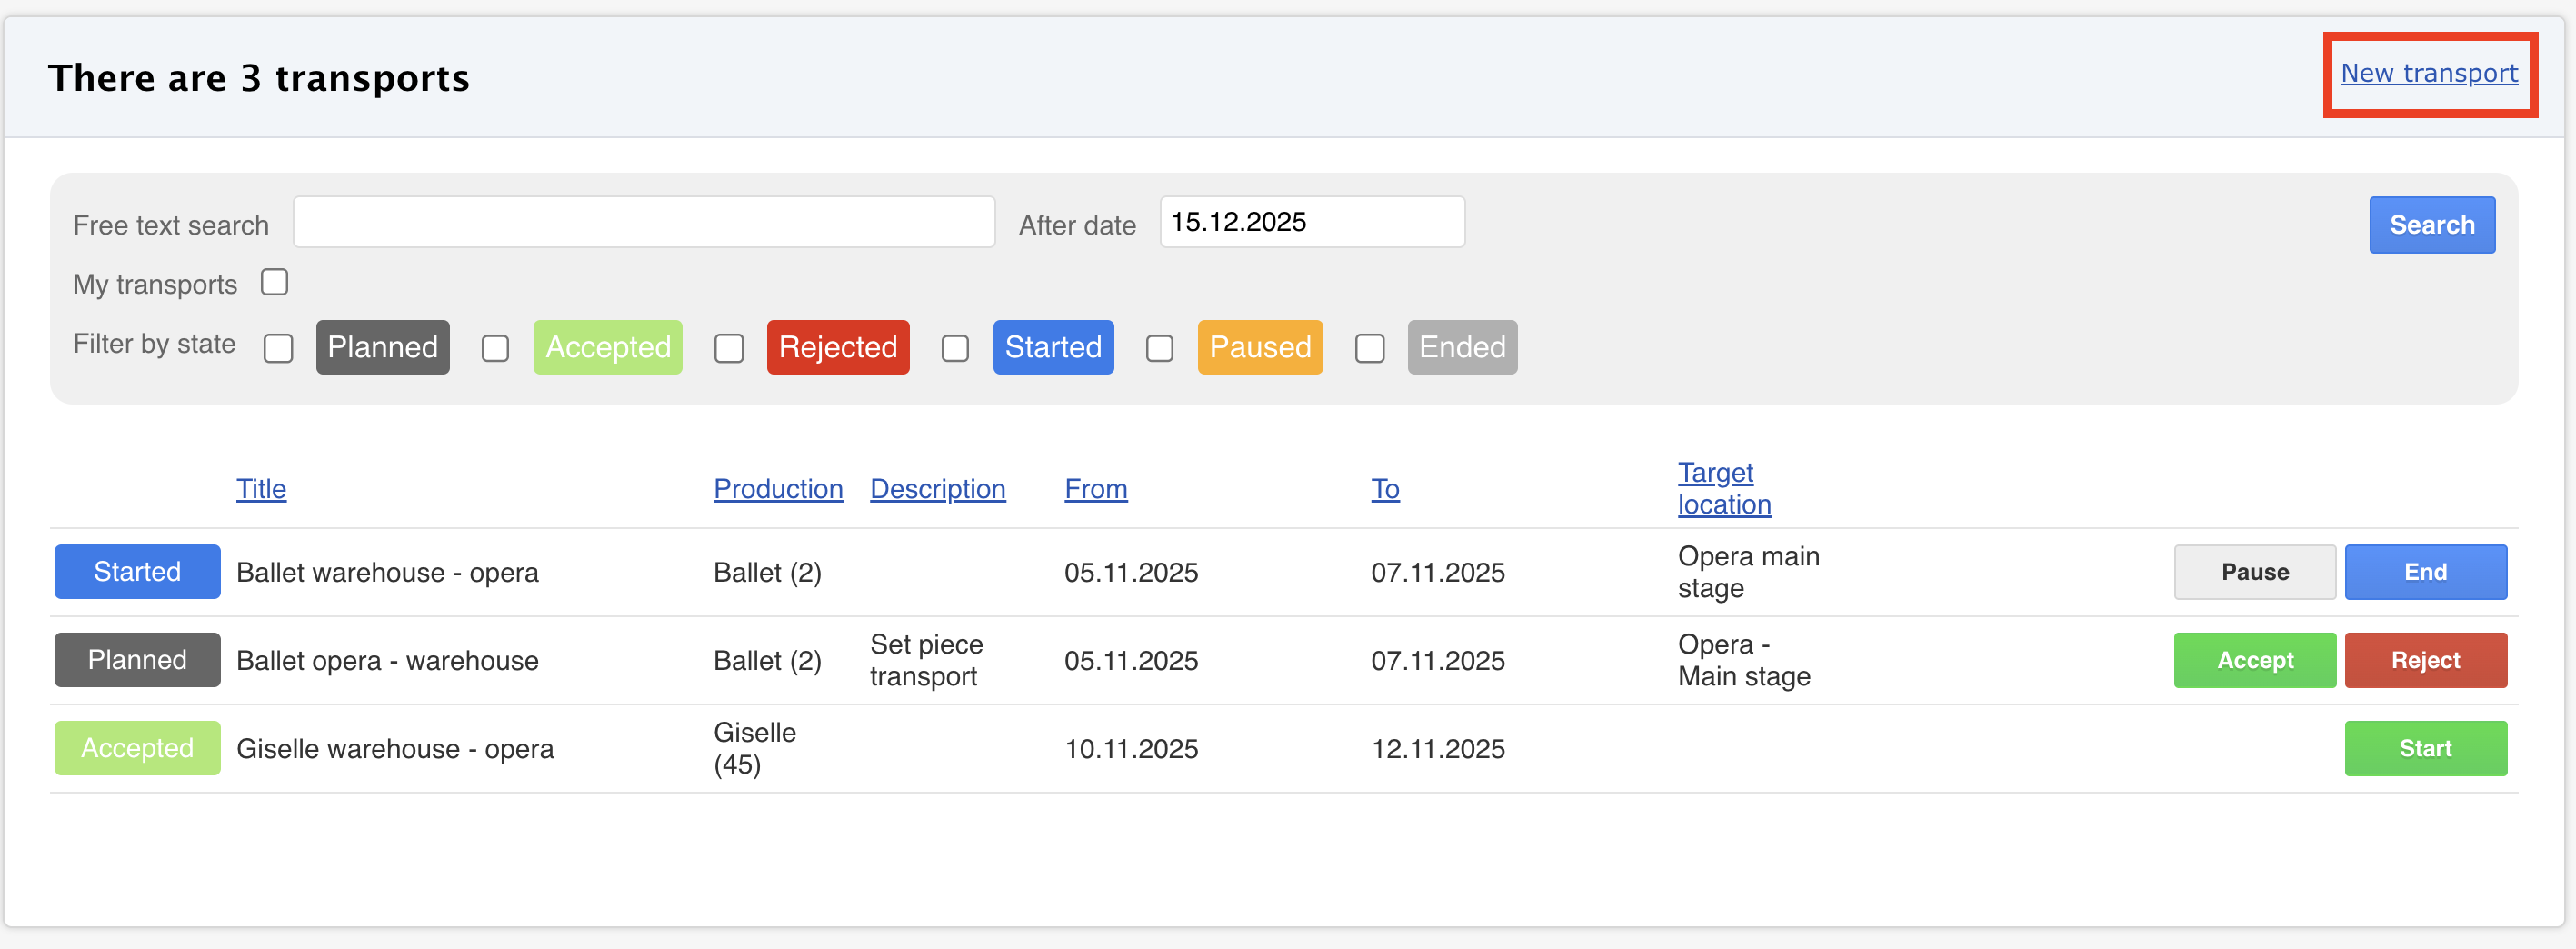
- Open Transports - All transports
- Click New transport
- Fill in the required details:
- Title: A short description of the transport need
- Production: (optional) Select the related production (optional)
- If a production is selected, suggested assets will later on offered from it.
- From / To: Choose when the transport should happen
- Target location: (optional) Enter the destination of the transport
- On behalf of: (optional) You can add an extra email address to receive transport notifications
- Choose a Trail user or manually add another email by clicking Email on the right
- Click Create
- Your new transport is now created and appears in the transport list!

Adding items to the transport
- Open the transport view
- Choose what you want to add:
- Set pieces / Costume sets / Prop sets
- If a production is selected, Trail suggests assets from the production by default.
- Add items – for individual items when you know exactly which units are needed
- Add models – for item models when you know the required quantity but not the specific units
- Set pieces / Costume sets / Prop sets

- Select the items
- Save your selection

- The items you selected will now be visible on the transport page.

Transport acceptance and execution
- After the equipment has been added, the transport request is either accepted or rejected.
- Lock Content – An additional setting. If the transport is locked, the equipment to be transported cannot be changed.
- The transport execution can be performed using Trail's iOS mobile application.
- Read next: Performing the transport (mobile)
⭐ Tips for successful use
- Agree in advance within your organisation:
- Who accepts the transports
- Who performs the transports
- Whether there is a receiver at the destination to assist the driver
- Trail iOS mobile app is a great tool to perform the transport after the plan has been created. If needed, Trail offers additional help for scanning with a 2D barcode scanner. To learn more, contact: sales@trail.fi
